1.本课主要内容具体如图所示。

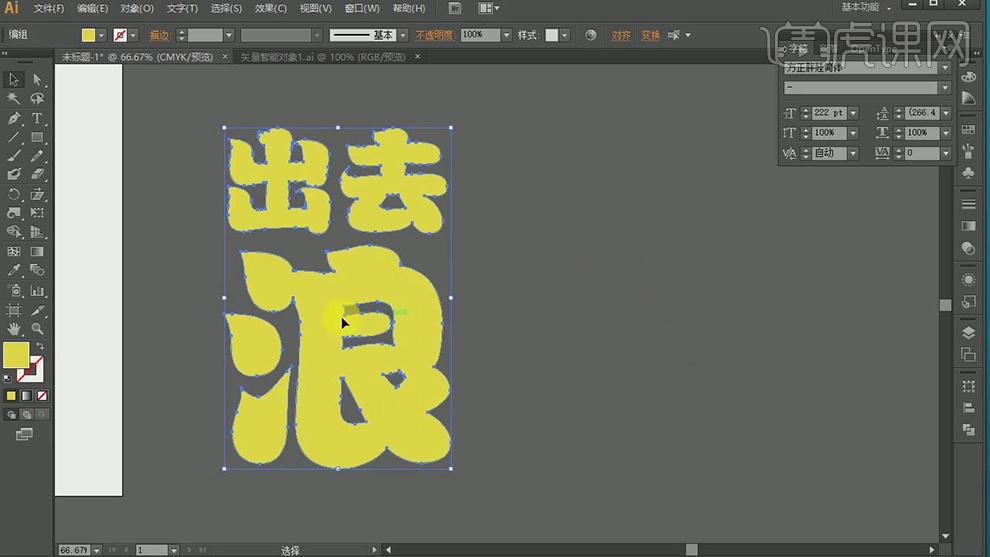
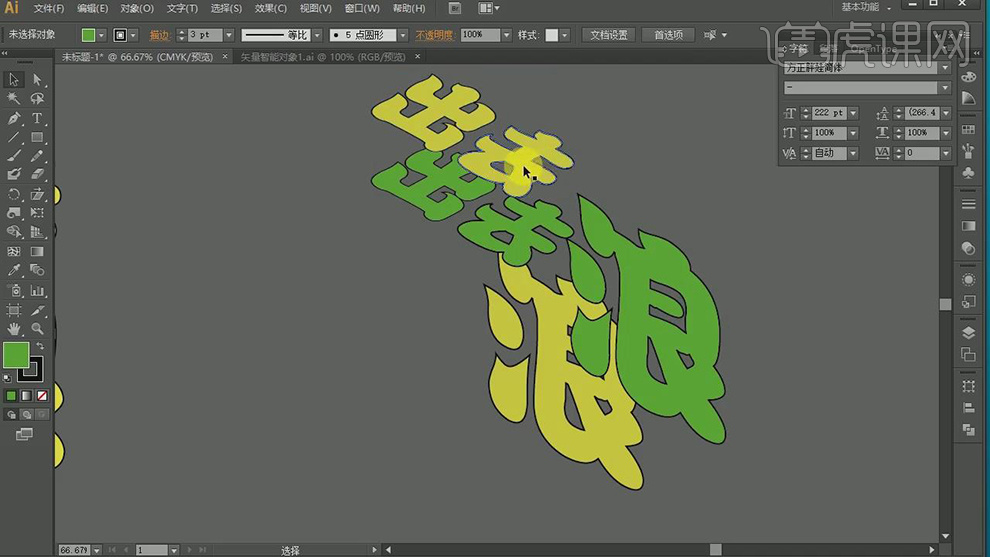
2.【打开】AI,使用【文字工具】,输入【文本】。按【Alt+移动复制】调整位置,【Ctrl+T】将其放大,【字符】方正胖娃简体。【右键】创建轮廓,【填充】FFFF24,具体如图示。
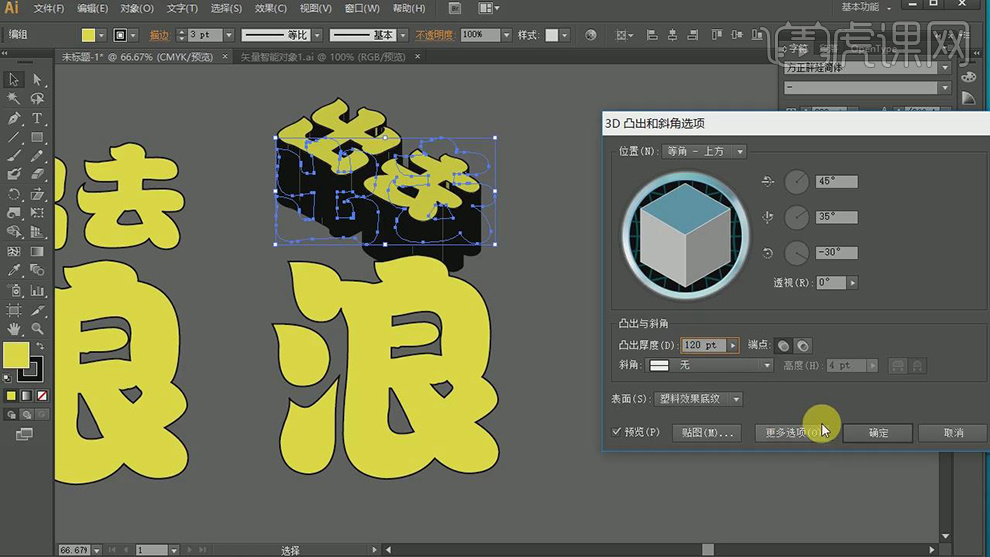
3.调整【描边】黑色【3pt】,按【Alt+移动复制】文本,调整【位置】,点击【效果】-【3D】-【凸出和斜角】,勾选【预览】,调整【位置】离轴 - 前方,点击【贴图】,调整【凸出厚度】120pt,具体如图示。
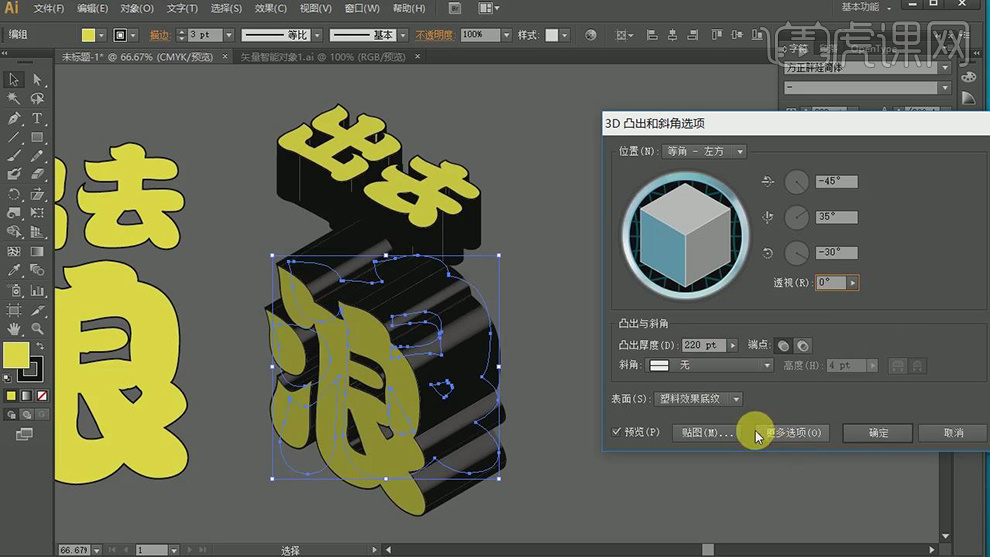
4.选择【浪】,点击【效果】-【3D】-【凸出和斜角】,勾选【预览】,调整【位置】离轴 - 左方,点击【贴图】,调整【凸出厚度】220pt,具体如图示。
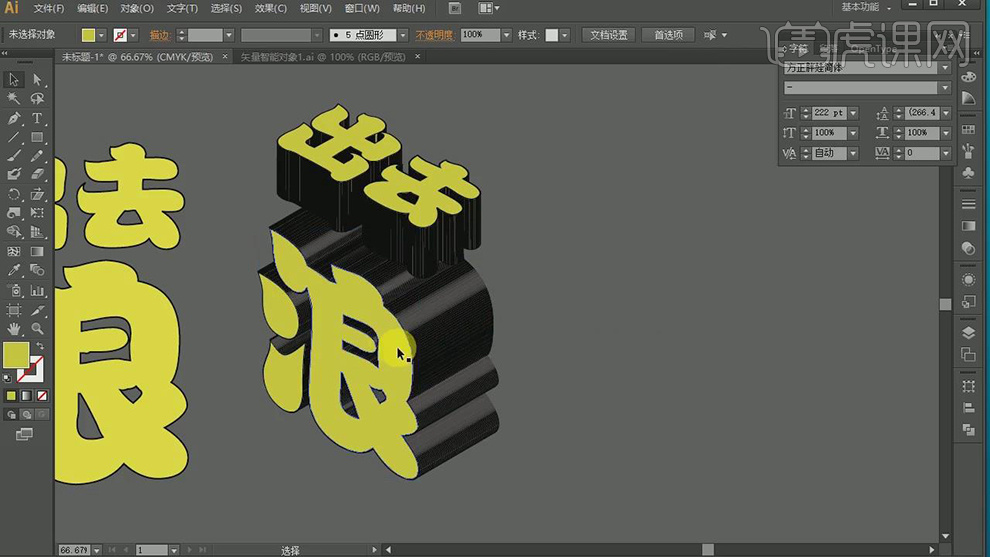
5.全选【图层】,点击【对象】-【扩展外观】。选择【文本】,【右键】取消编组,【Ctrl+G】编组,具体如图示。
6.按【Alt+移动复制】文本,调整【位置】,双击【图层】,进入【图层】,调整【描边】3pt,【填充】绿色,选择【图层】,【右键】-【排列】-【置于顶层】,具体如图示。
7.选择【图层】,点击【混合工具】,调整【间距】指定的步数【15】,具体如图示。
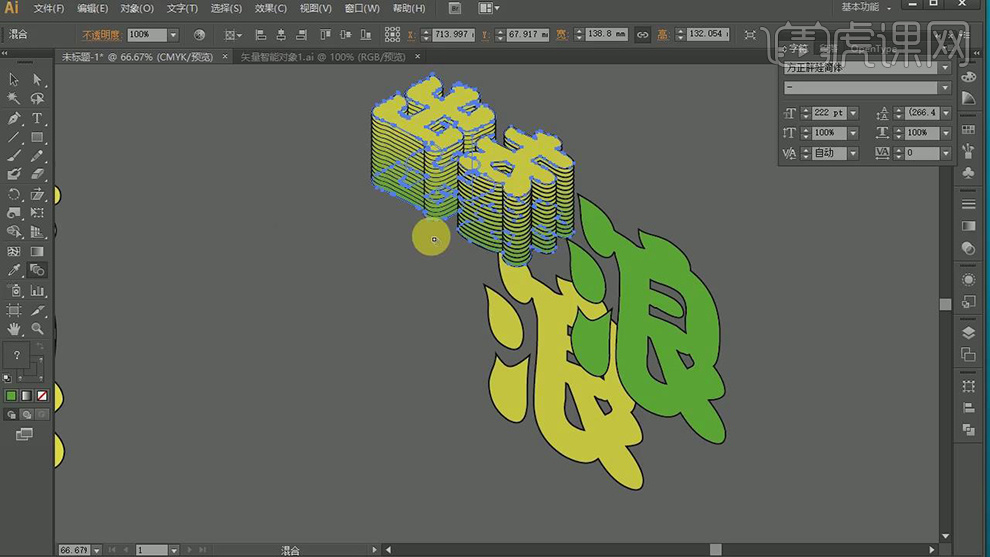
8.选择【图层】,【右键】-【排列】-【置于顶层】,选择【图层】,点击【混合工具】,选择两个,出现【+】进行点击,调整【图层】位置,具体如图示。
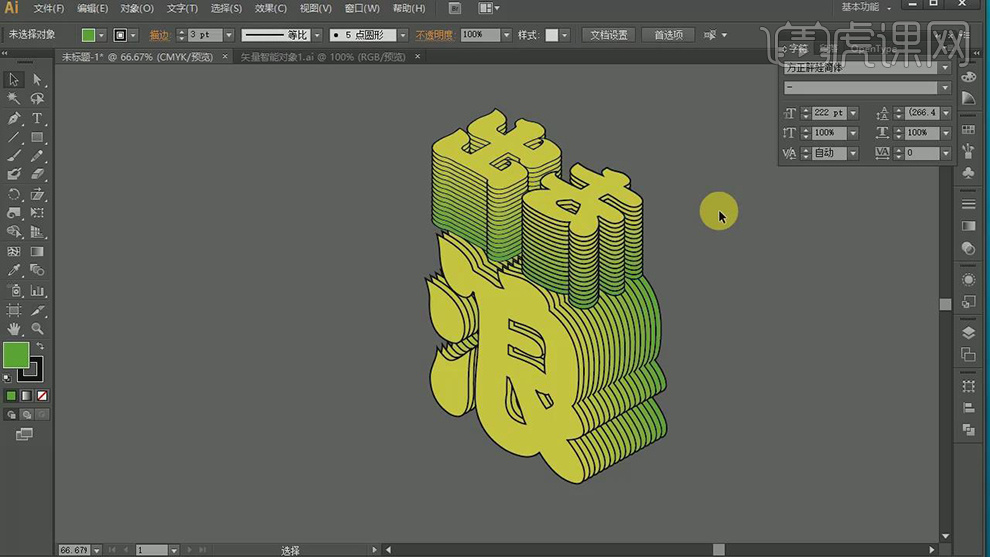
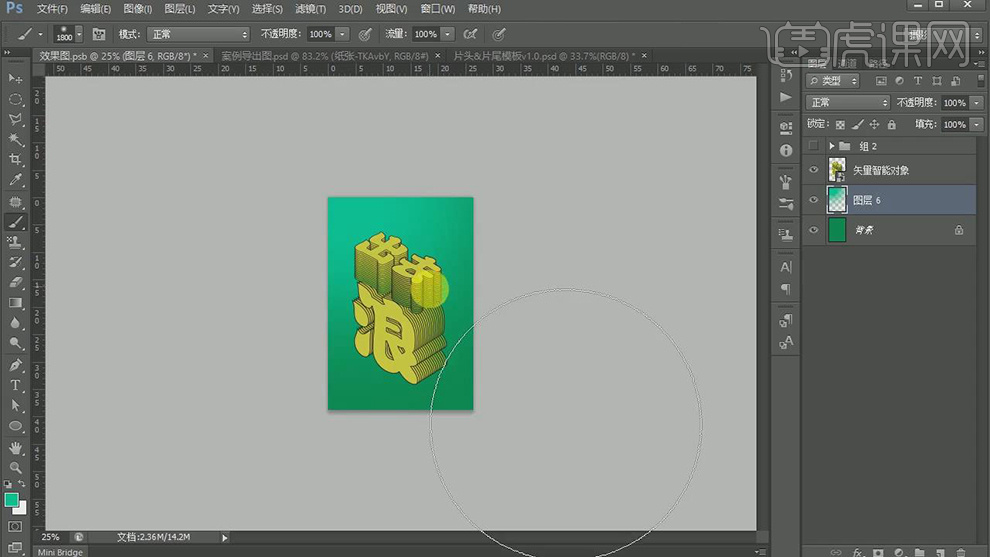
9.【Ctrl+C】复制图层,【打开】PS,【Ctrl+V】粘贴为智能对象到【PS】中,新建【图层】,【Alt+Delete】填充前景色【0b8f59】,具体如图示。
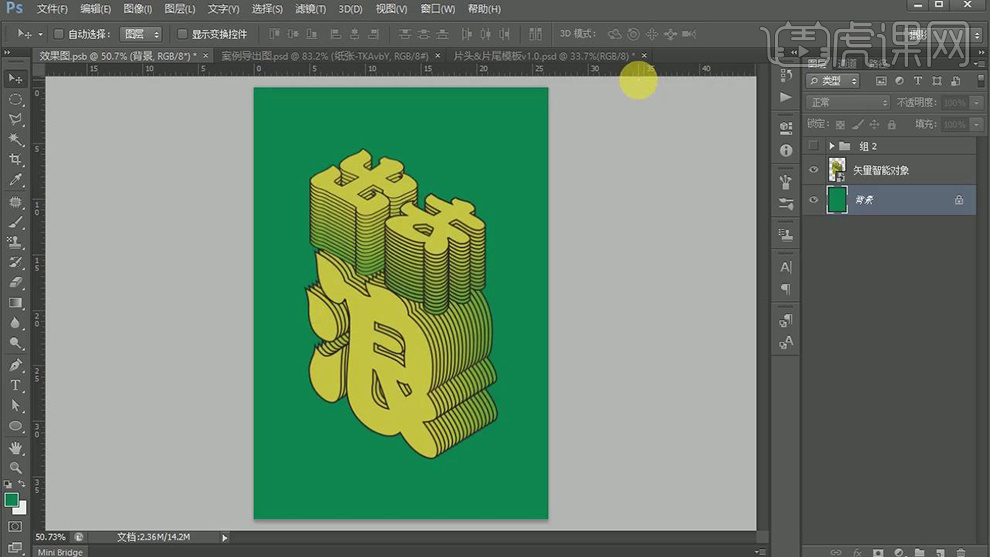
10.新建【图层】,【前景色】1fcaa4,使用【画笔工具】,前景色画笔,进行涂抹,具体如图示。
11.新建【曲线】,按【Alt+单击图层间】创建剪切蒙版,调整【RGB】曲线,具体如图示。


 复制
复制