

图文教程学员互动 (42) 视频字幕

换一批
为你推荐
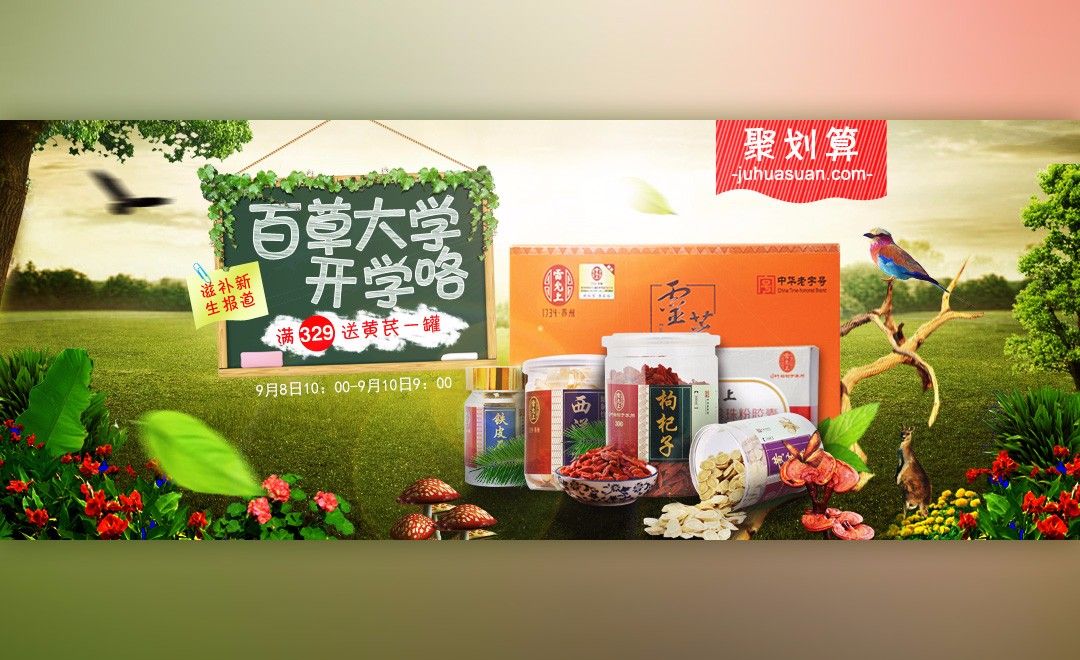
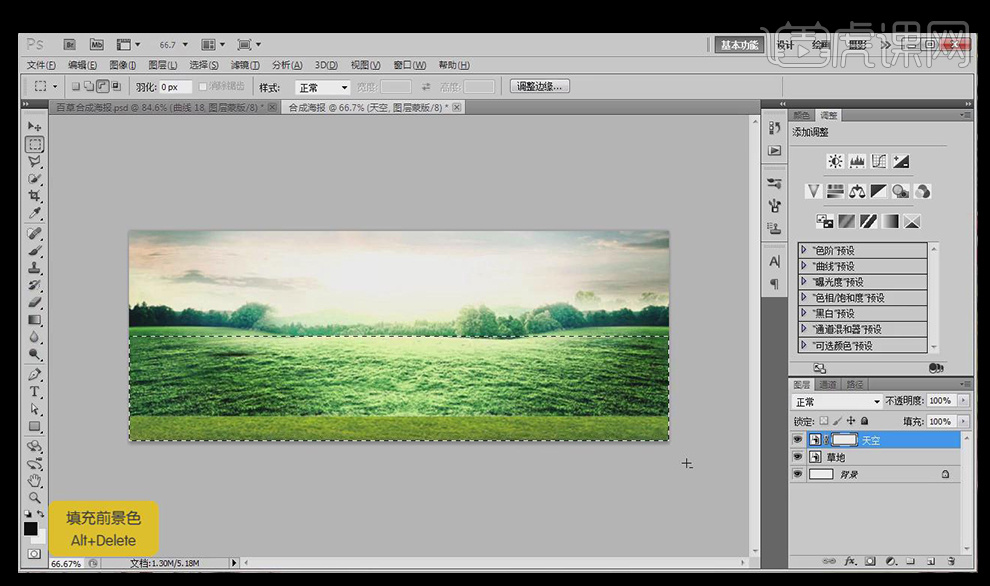
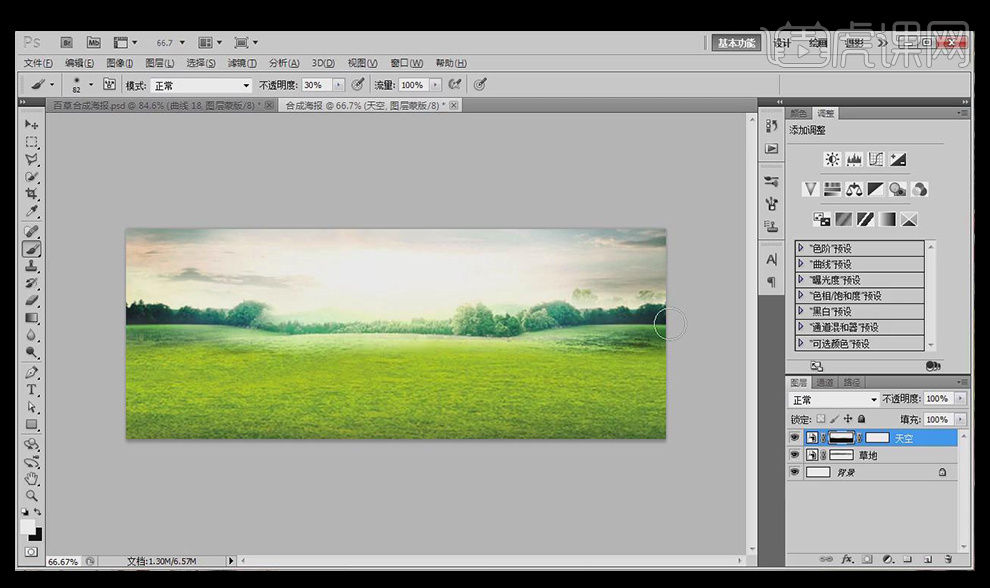
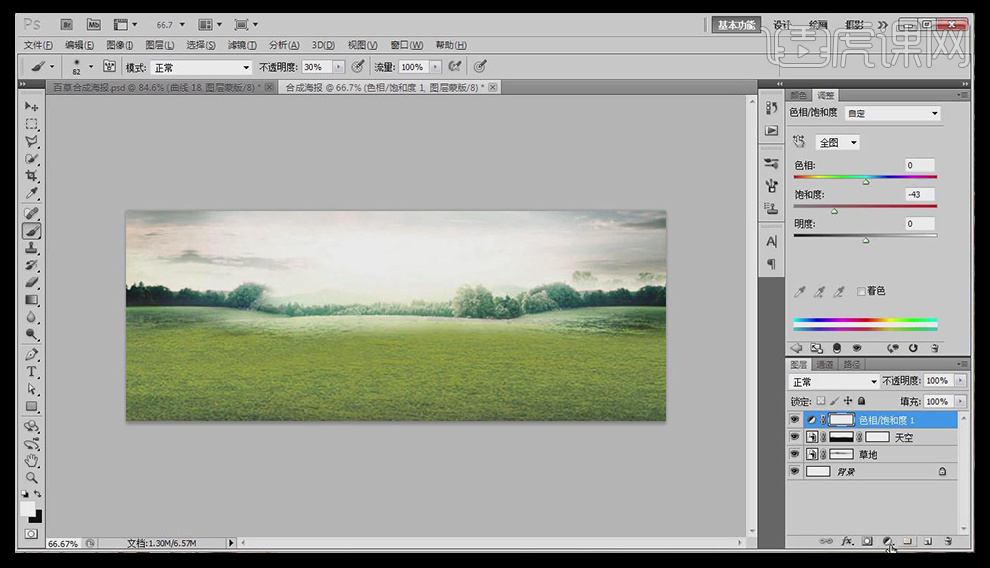
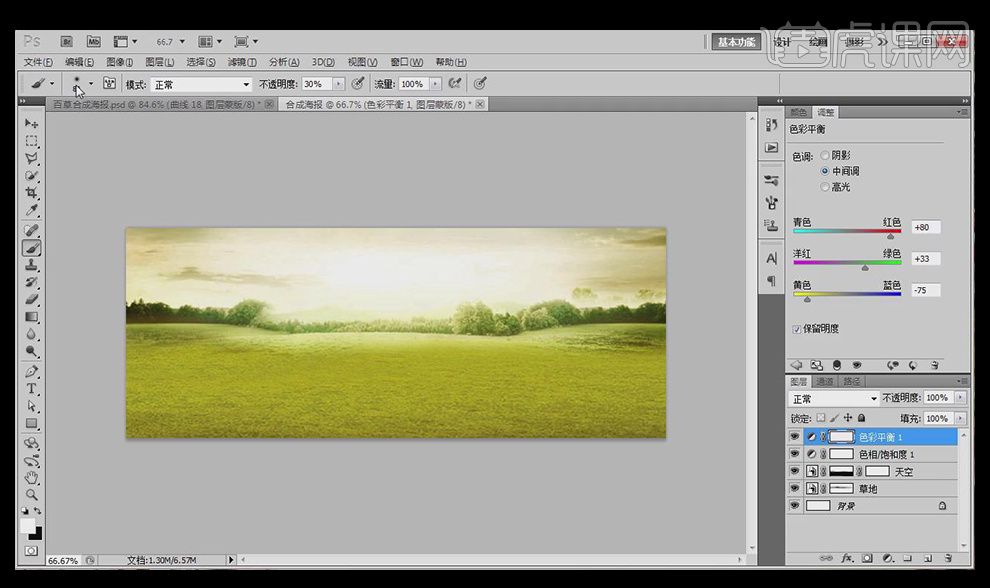
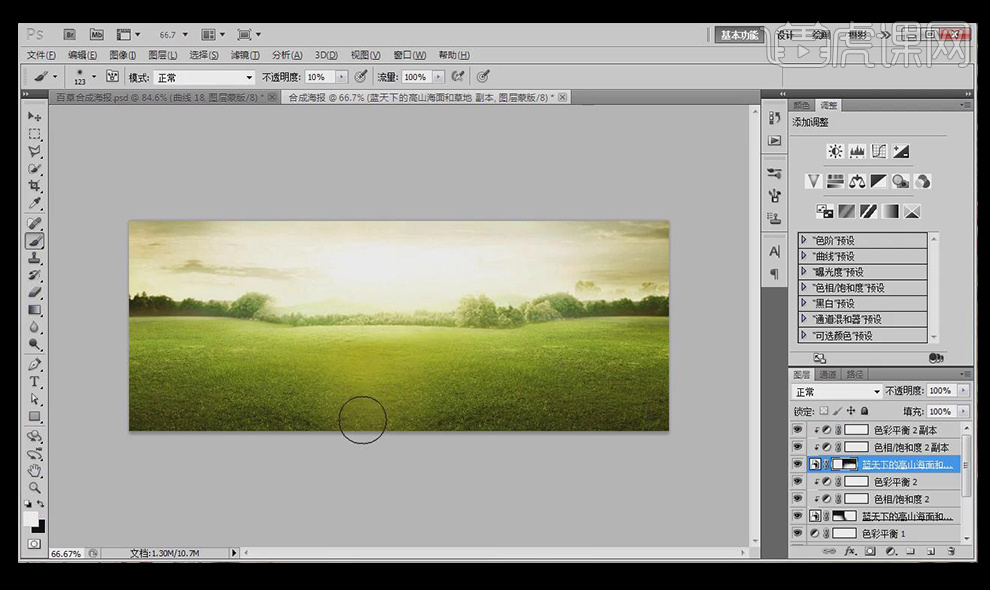
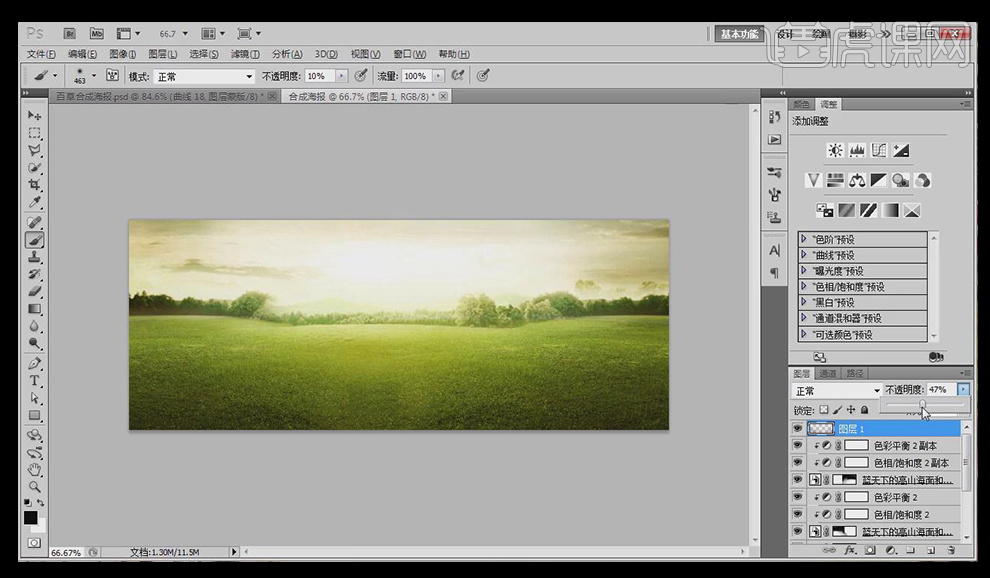
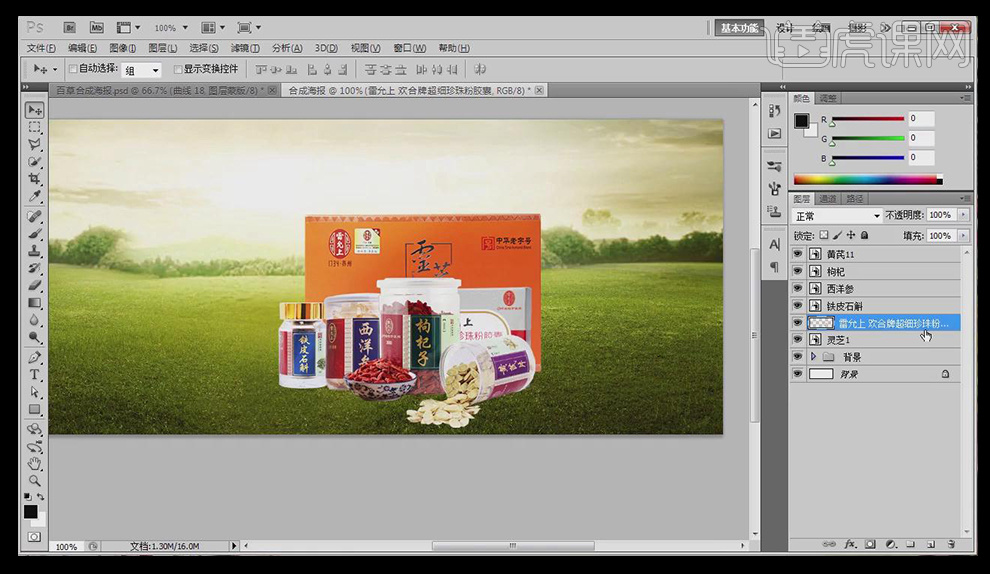
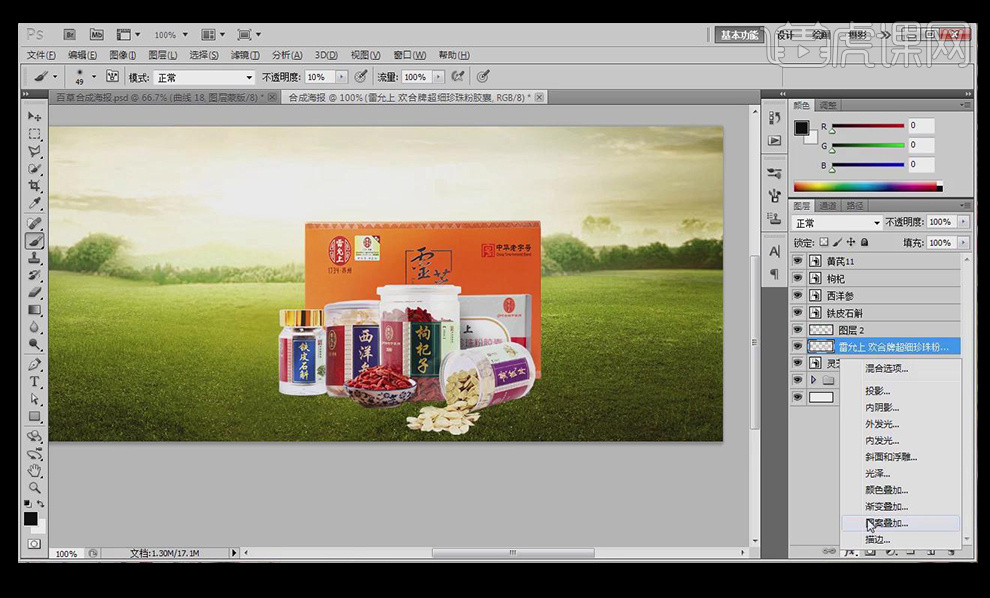
虎课网为您推荐PS-开学季营养食品促销海报视频教程、图文教程、素材源文件下载,学员课后练习、作品以及评价等内容。PS-开学季营养食品促销海报教程讲师:小雨,难度等级:中级拔高,视频时长:33分15秒,涉及工具和快捷键:PS-画笔/笔刷工具,PS-钢笔工具,PS-自由变换,填充前景色(Alt+Delete),填充背景色(Ctrl+Delete),图层编组(Ctrl+G),复制图层(Ctrl+J),盖印(Ctrl+Alt+Shift+E),复制(Ctrl+C),粘贴(Ctrl+V),PS-图层蒙版,PS-曲线,PS-色相饱和度调整 查看全部


 复制
复制