1、本节课讲解C4D+AE-球体碰撞UI动效设计 ,本节课中用到的素材,会放置在素材包内,请各位学员点击右侧黄色按钮自行下载安装。
![](http://pic.huke88.com/upload/content/2019/03/11/15522982655796.jpg)
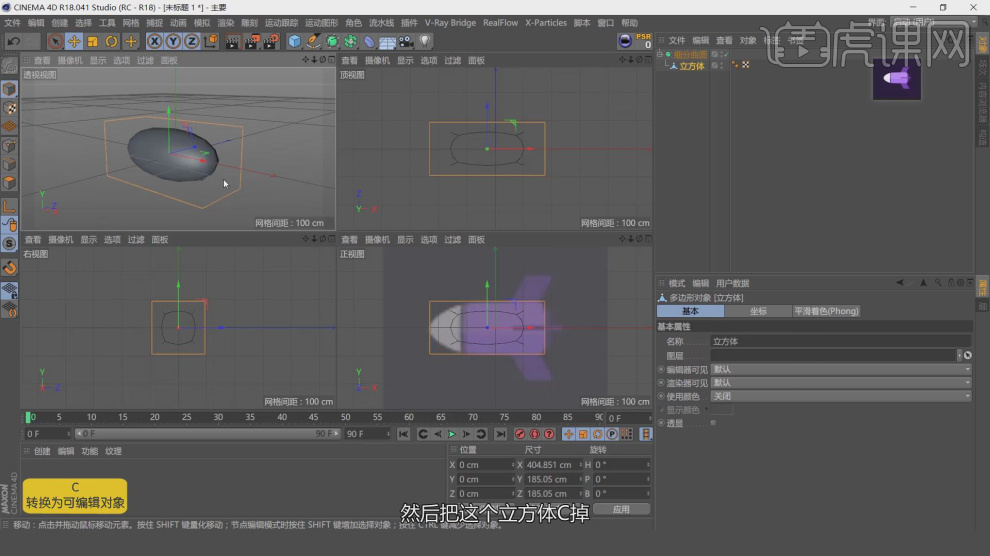
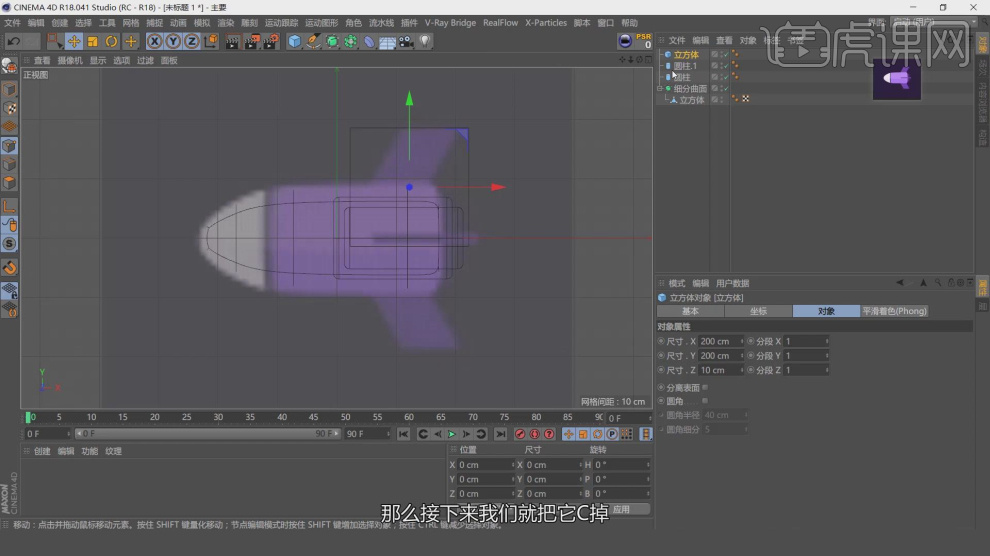
2、新建一个【几何体】对象中的【长方体】调整他的大小,然后在效果器中添加一个【细分曲面】效果,如图所示。
![](http://pic.huke88.com/upload/content/2019/03/11/15522982687536.jpg)
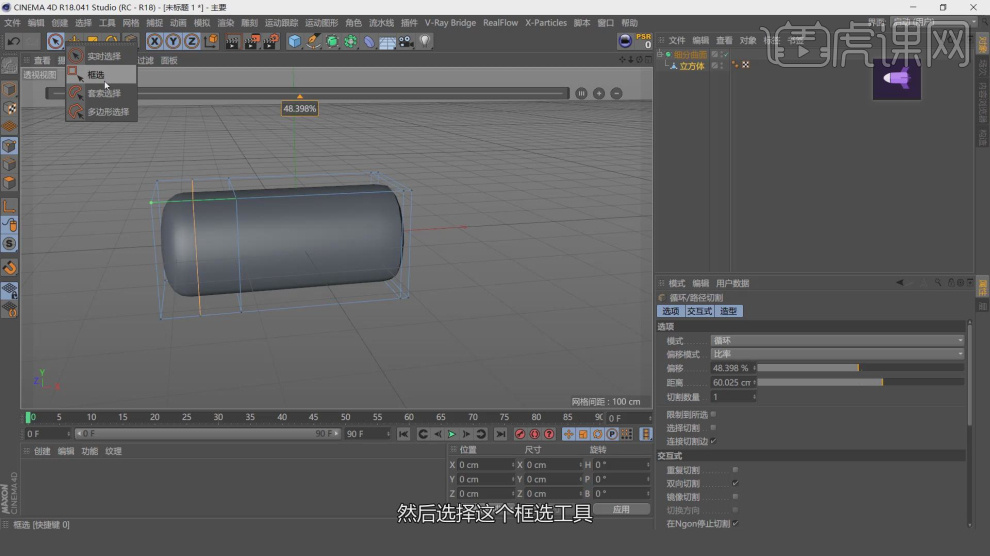
3、使用【循环切割】工具,在模型上进行切割,如图所示。
![](http://pic.huke88.com/upload/content/2019/03/11/15522982722136.jpg)
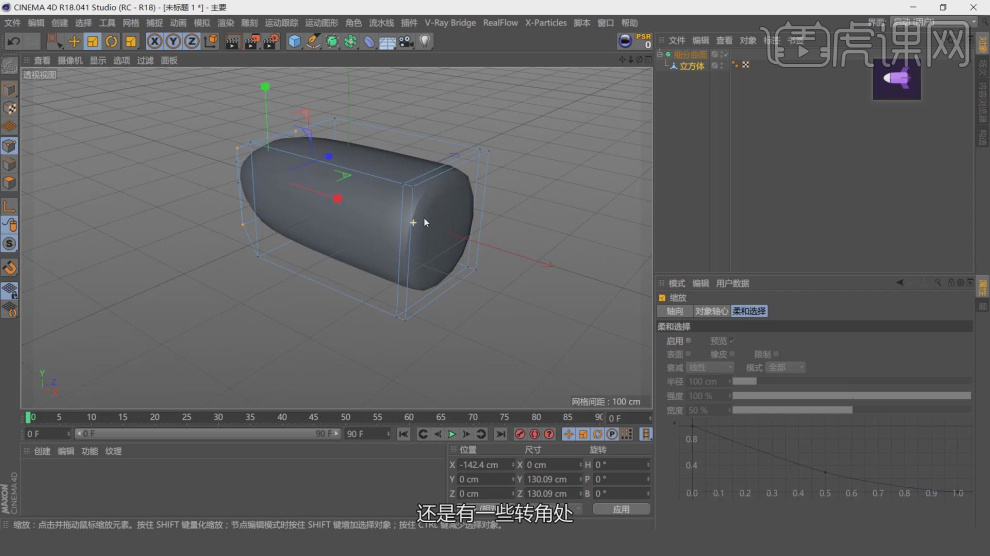
4、在【点】模式下,调整模型的形状,如图所示。
![](http://pic.huke88.com/upload/content/2019/03/11/15522982778453.jpg)
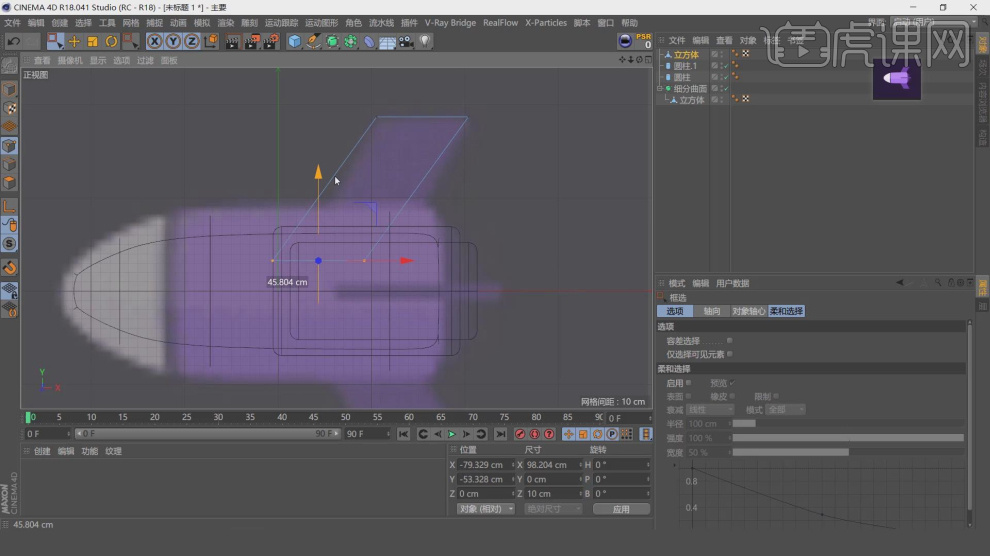
5、新建一个【几何体】对象中的【长方体】调整他的大小,如图所示。
![](http://pic.huke88.com/upload/content/2019/03/11/15522982827135.jpg)
6、在【点】模式下,调整模型的形状,如图所示。
![](http://pic.huke88.com/upload/content/2019/03/11/15522982861751.jpg)
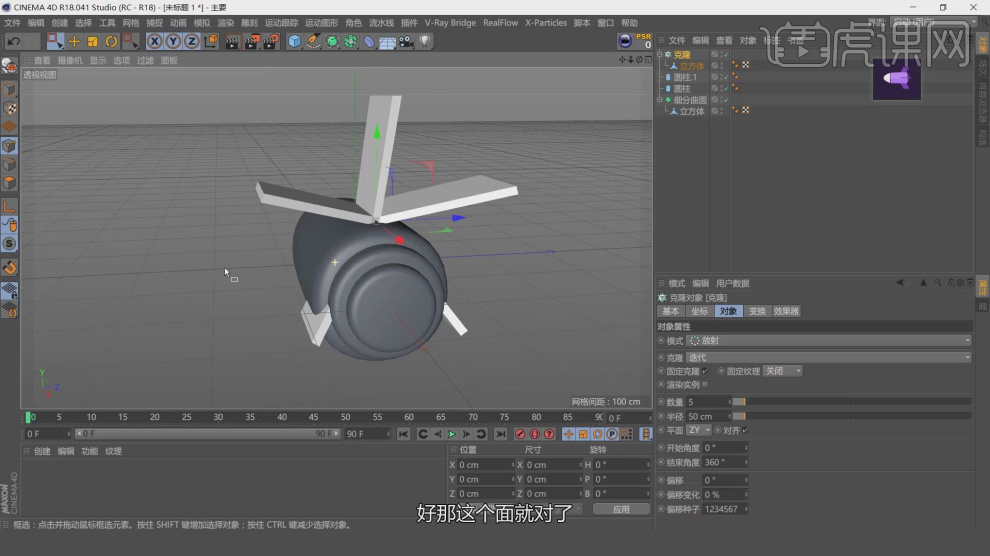
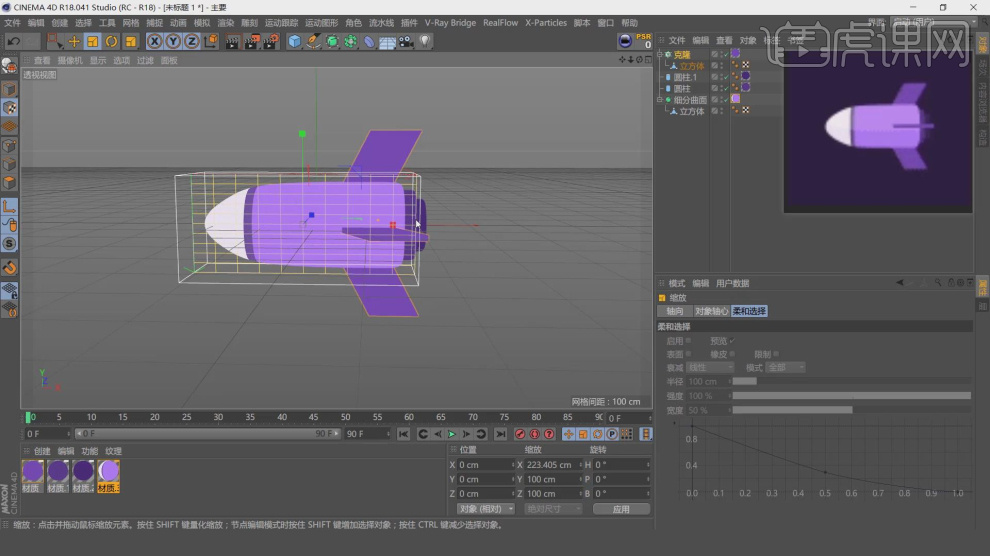
7、然后在【运动图像】中添加一个【克隆】效果,如图所示。
![](http://pic.huke88.com/upload/content/2019/03/11/15522982895180.jpg)
8、新建一个材质球,然后勾选【灯光】通道,如图所示。
![](http://pic.huke88.com/upload/content/2019/03/11/15522982942147.jpg)
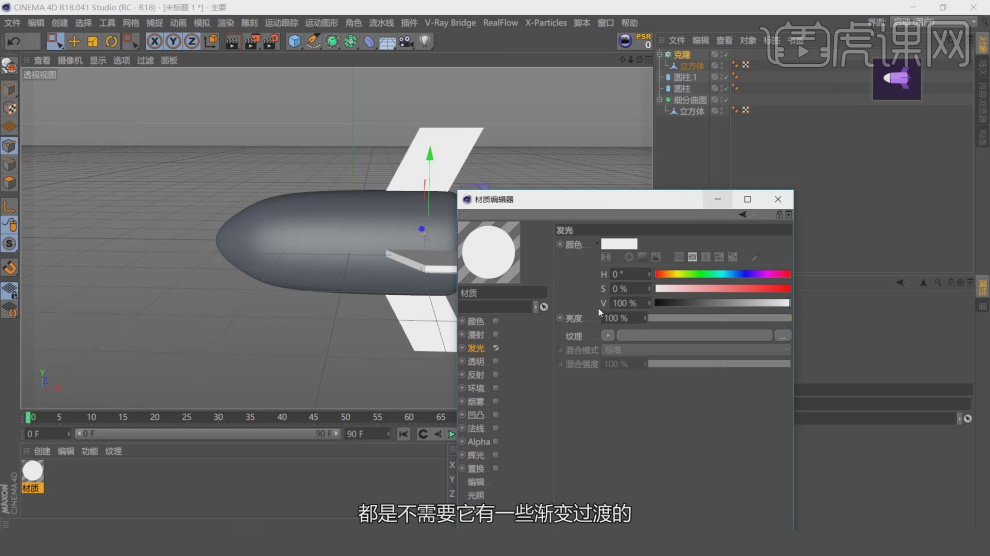
9、然后在【发光】中设置一个渐变效果,如图所示。
![](http://pic.huke88.com/upload/content/2019/03/11/1552298297552.jpg)
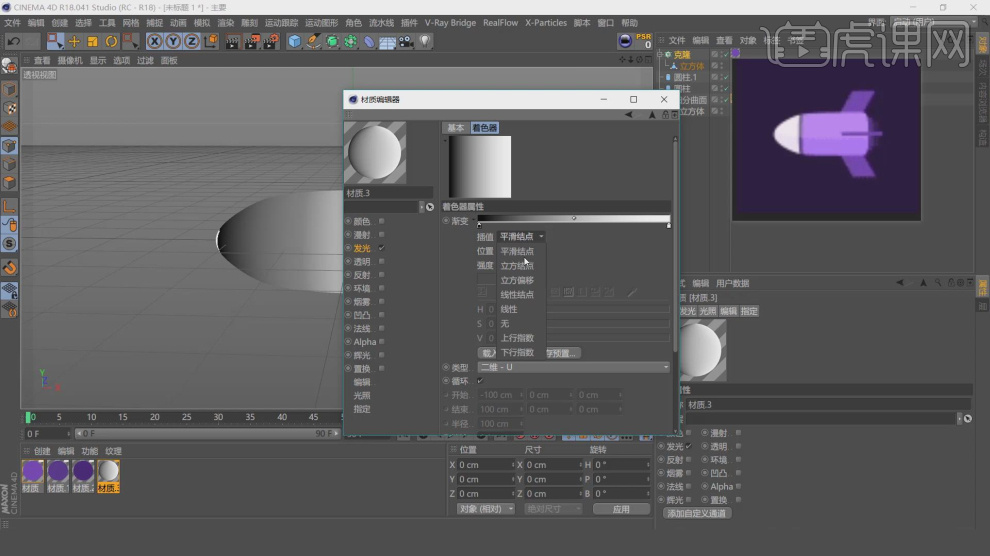
10、将渐变的效果调整为节点,并修改他他的颜色,如图所示。
![](http://pic.huke88.com/upload/content/2019/03/11/15522983016517.jpg)
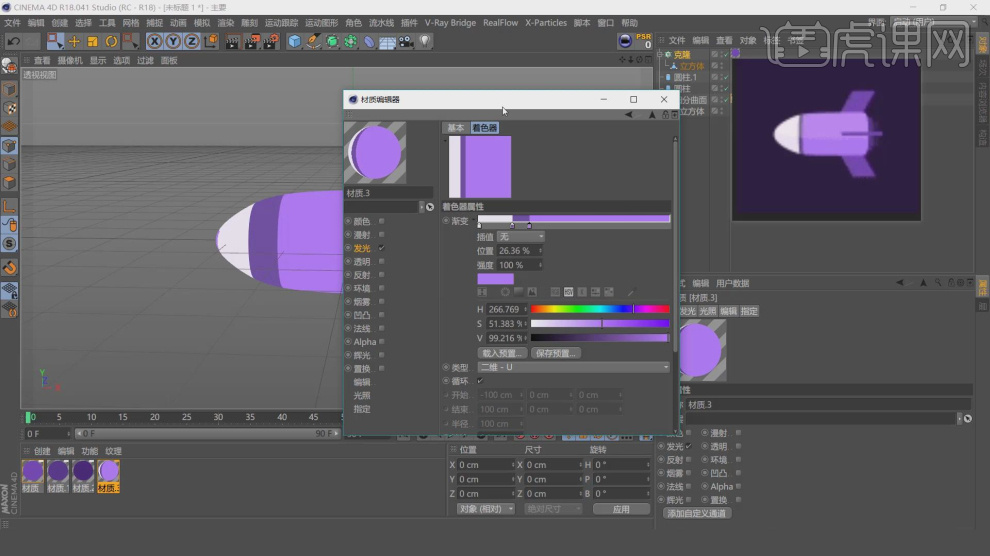
11、进入到【uv】模式进行一个调整,如图所示。
![](http://pic.huke88.com/upload/content/2019/03/11/15522983052201.jpg)
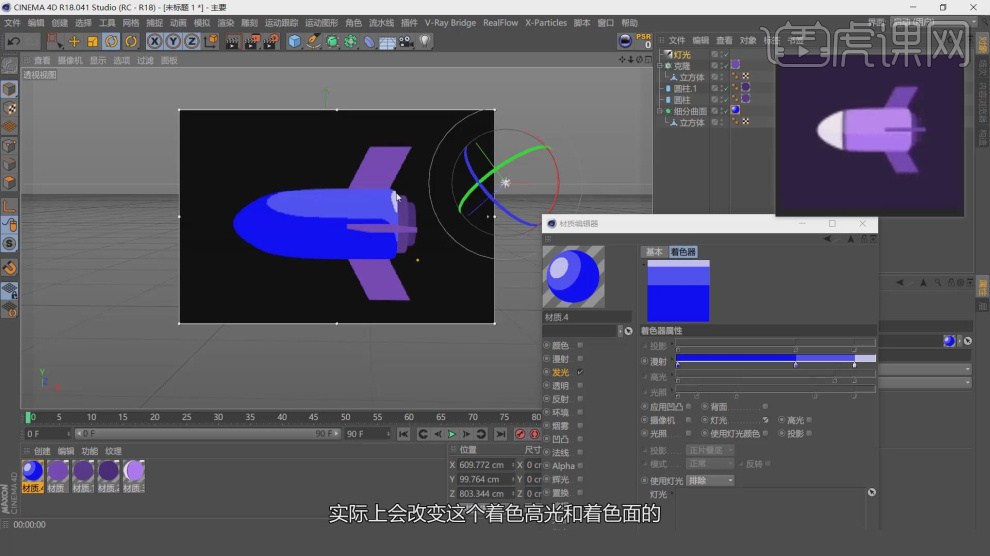
12、在灯光中创建一个光源,调整灯光的位置,如图所示。
![](http://pic.huke88.com/upload/content/2019/03/11/15522983091892.jpg)
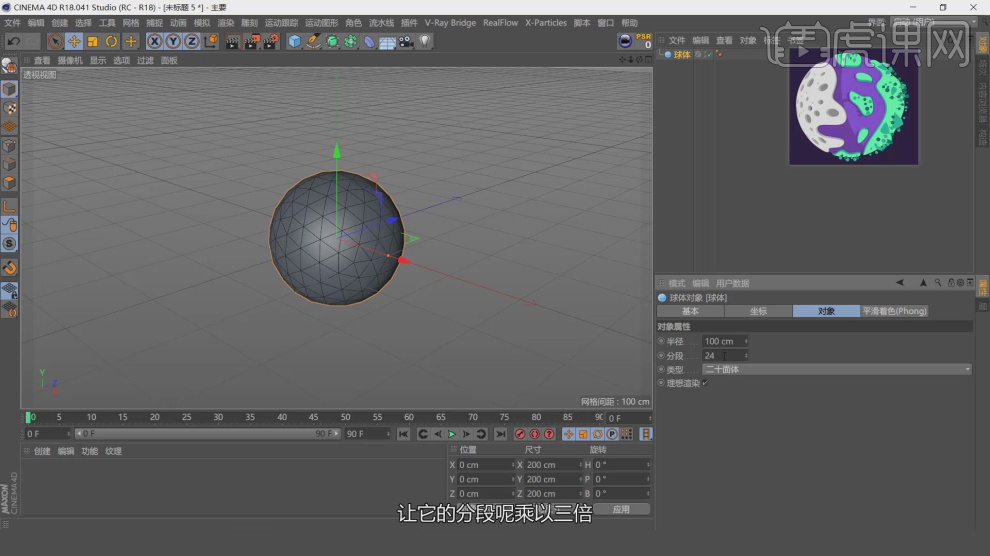
13、新建一个【几何体】对象中的【球体】调整大小,如图所示。
![](http://pic.huke88.com/upload/content/2019/03/11/15522983138428.jpg)
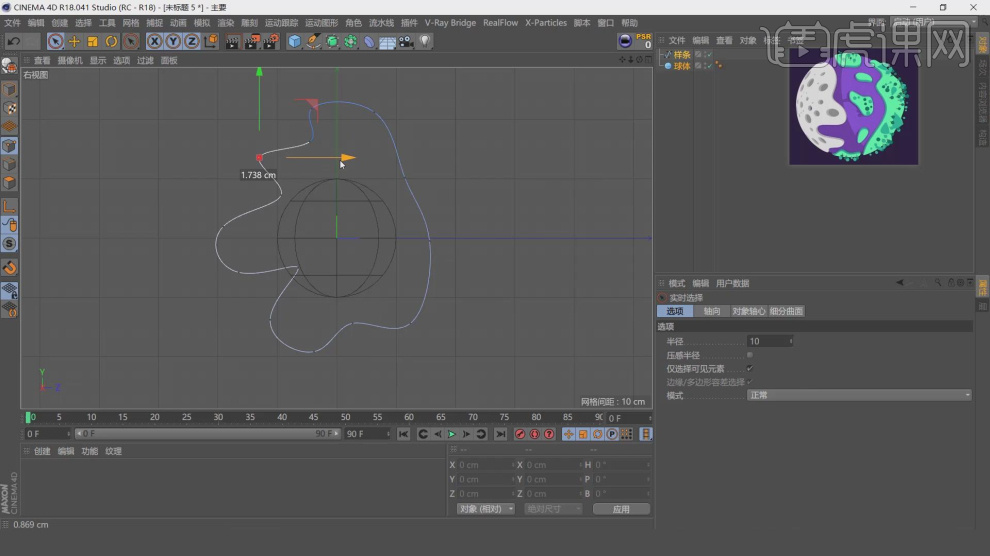
14、在【样条线】工具中参考图片绘制一个路径,如图所示。
![](http://pic.huke88.com/upload/content/2019/03/11/15522983182429.jpg)
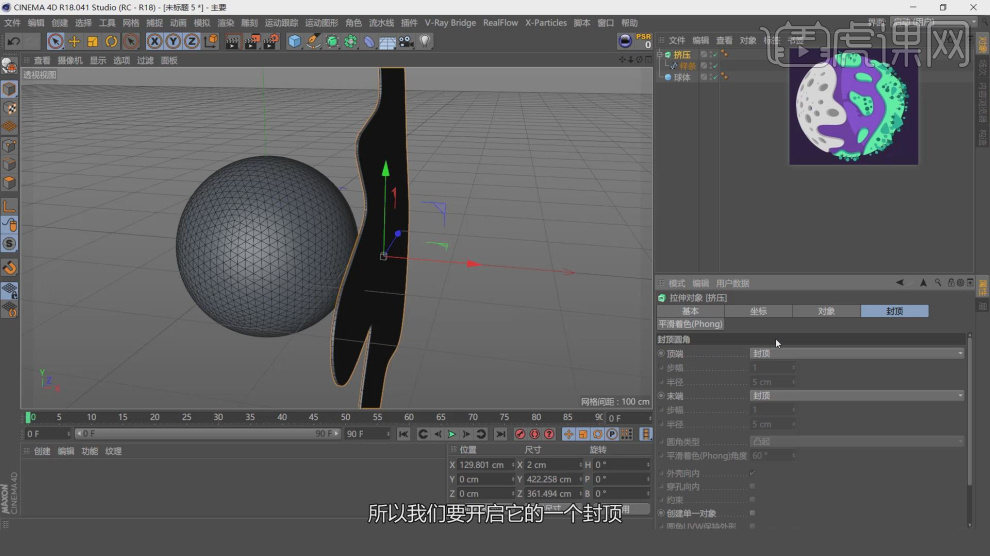
15、然后在效果器中添加一个【挤出】效果,如图所示。
![](http://pic.huke88.com/upload/content/2019/03/11/1552298323646.jpg)
16、然后在效果器中添加一个【包裹】效果,如图所示。
![](http://pic.huke88.com/upload/content/2019/03/11/15522983283715.jpg)
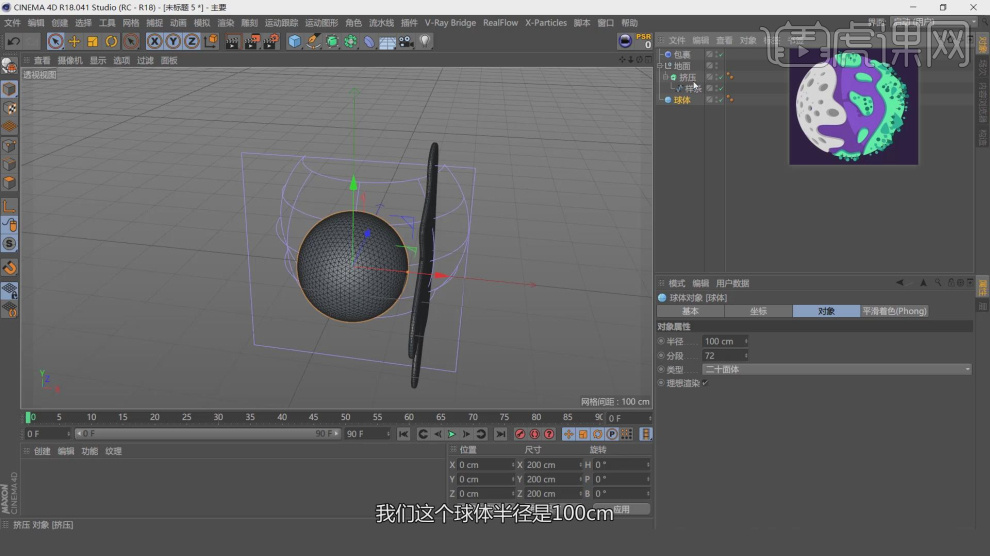
17、选择路径,将包裹效果器放在一个组里面,如图所示。
![](http://pic.huke88.com/upload/content/2019/03/11/15522983328956.jpg)
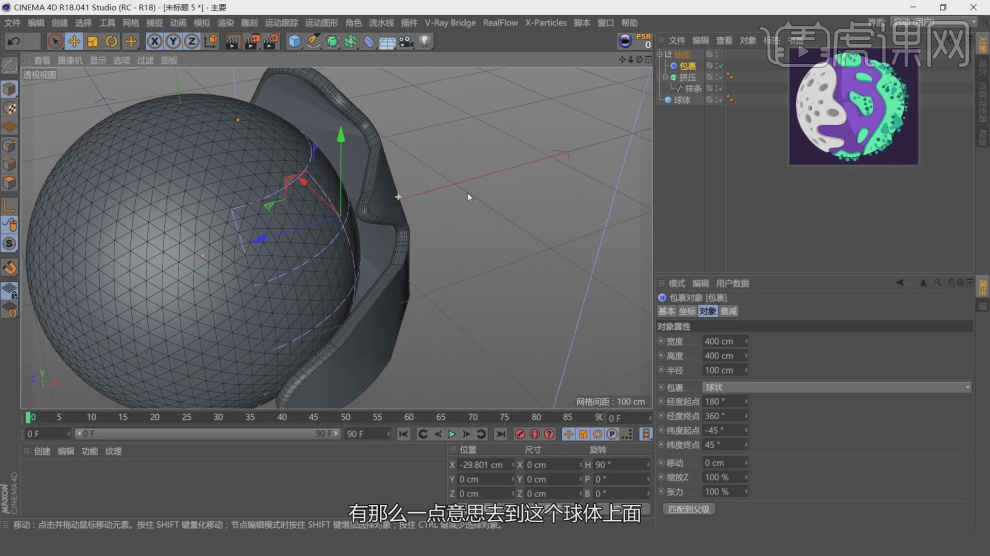
18、在【挤出】效果的封顶中,将他的类型调整为【四边形】宽度调整为10cm,如图所示。
![](http://pic.huke88.com/upload/content/2019/03/11/15522983372438.jpg)
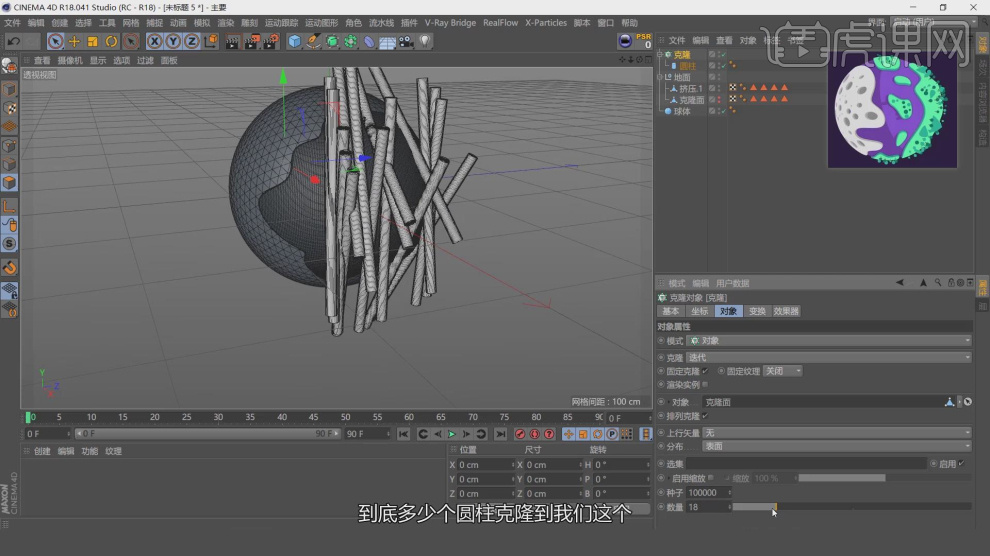
19、新建一个【几何体】对象中的【圆柱体】调整他的大小,如图所示。
![](http://pic.huke88.com/upload/content/2019/03/11/15522983411629.jpg)
20、然后在【运动图像】中添加一个【克隆】效果,如图所示。
![](http://pic.huke88.com/upload/content/2019/03/11/15522983468277.jpg)
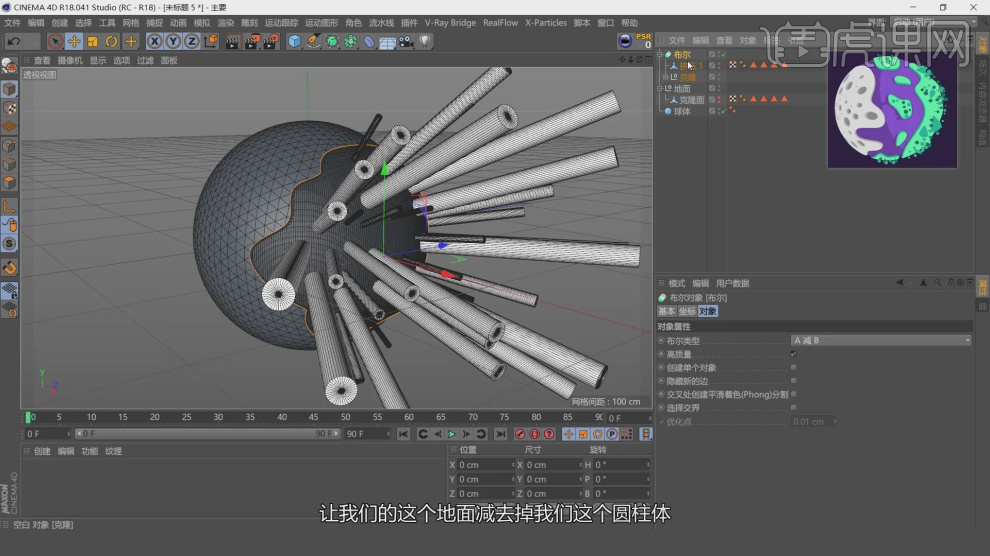
21、选择克隆模型和路径,然后在效果器中添加一个【布尔】效果,如图所示。
![](http://pic.huke88.com/upload/content/2019/03/11/15522983519829.jpg)