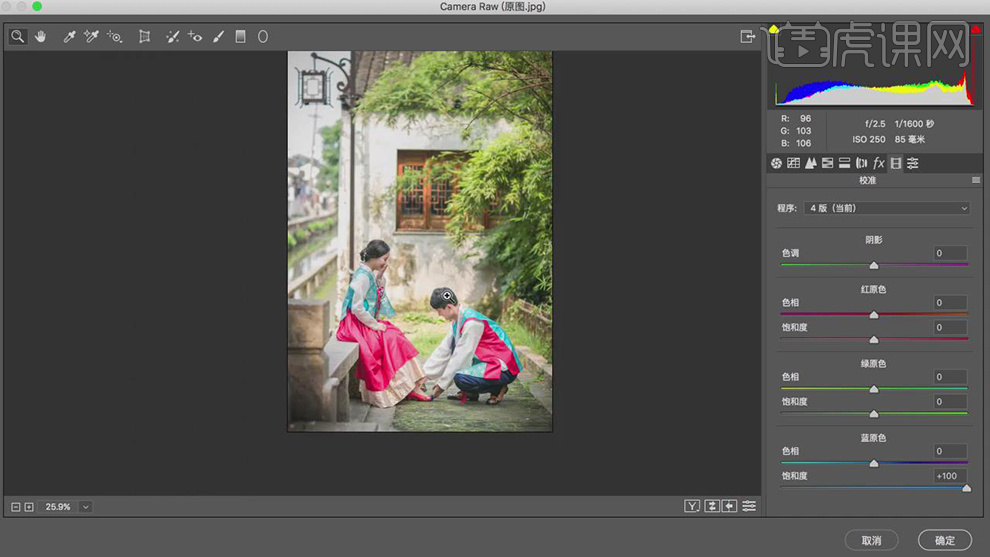
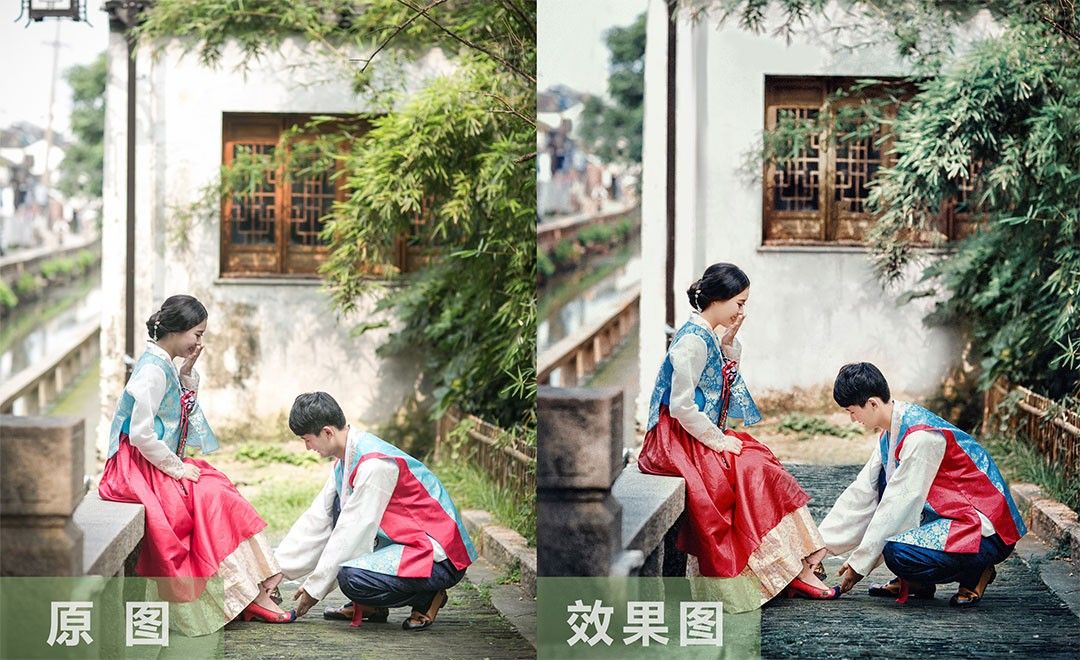
1.【打开】PS,【导入】素材,【滤镜】-【Camera Raw滤镜】,【校准】面板,调整【蓝原色】参数,具体参数效果如图示。
![](https://pic.huke88.com/upload/content/2018/10/03/15385765177865.jpg)
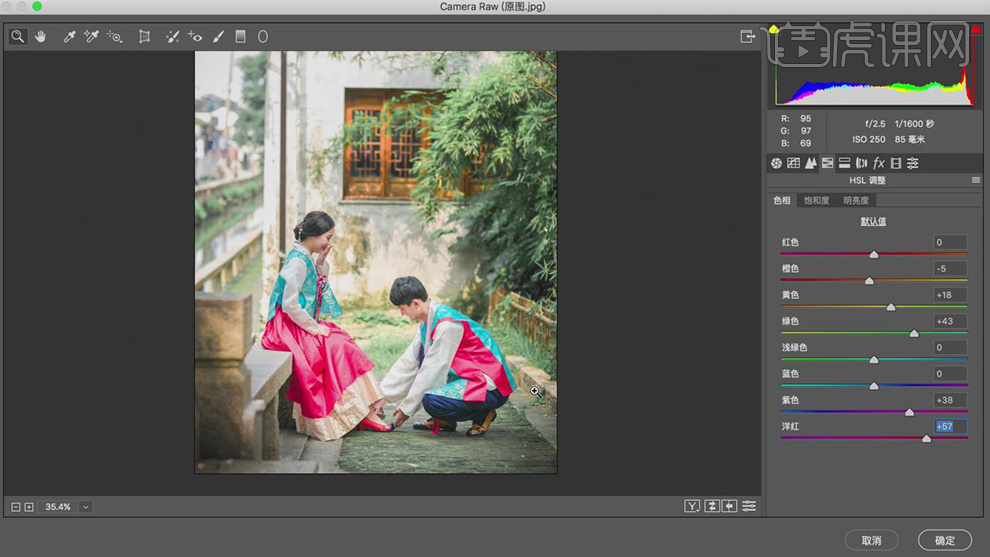
2.【HSL调整】面板,调整【色相】参数,具体参数效果如图示。
![](https://pic.huke88.com/upload/content/2018/10/03/15385765262008.jpg)
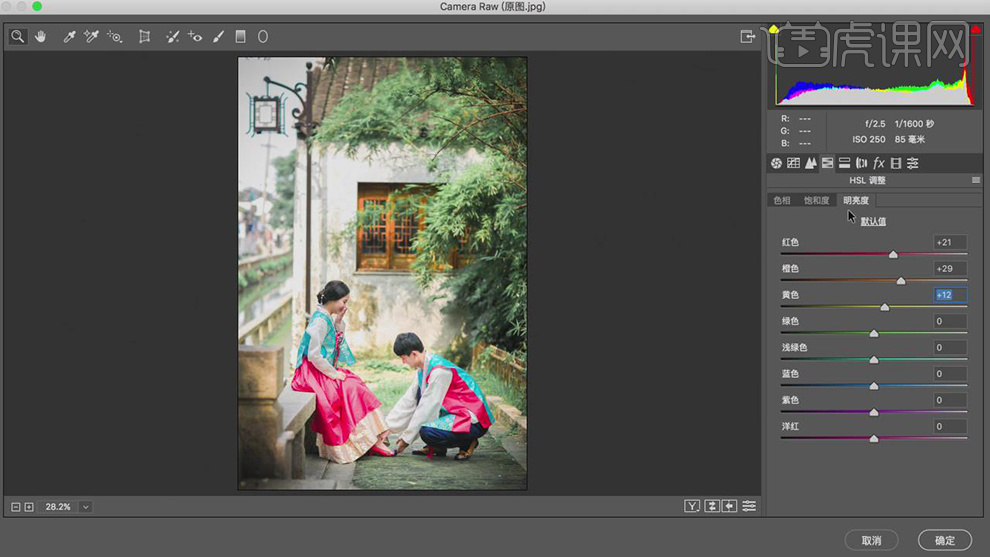
3.【HSL调整】面板,调整【明亮度】参数,具体参数效果如图示。
![](https://pic.huke88.com/upload/content/2018/10/03/1538576531859.jpg)
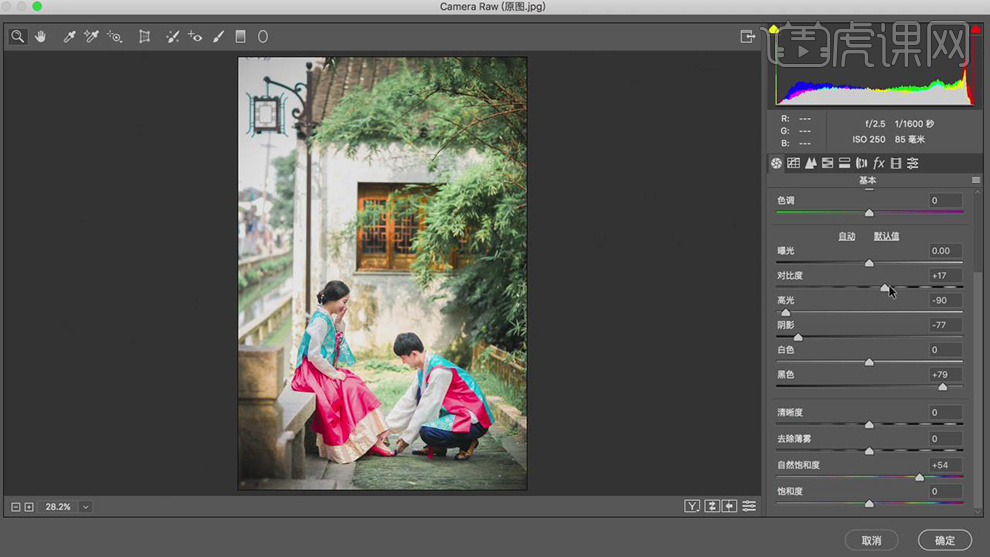
4.【基本】面板,调整【基本】参数,具体参数效果如图示。
![](https://pic.huke88.com/upload/content/2018/10/03/15385765363556.jpg)
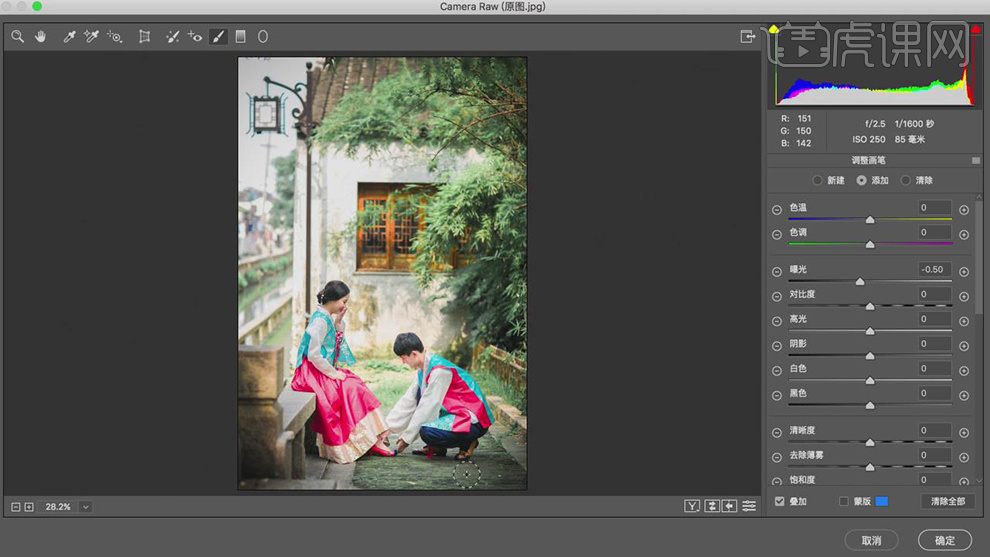
5.点击【调整画笔】,调整【参数】,进行涂抹,具体如图示。
![](https://pic.huke88.com/upload/content/2018/10/03/15385765414957.jpg)
6.进入【PS】,新建【颜色查找】,调整【3DLUT文件】,具体如图示。
![](https://pic.huke88.com/upload/content/2018/10/03/15385765489079.jpg)
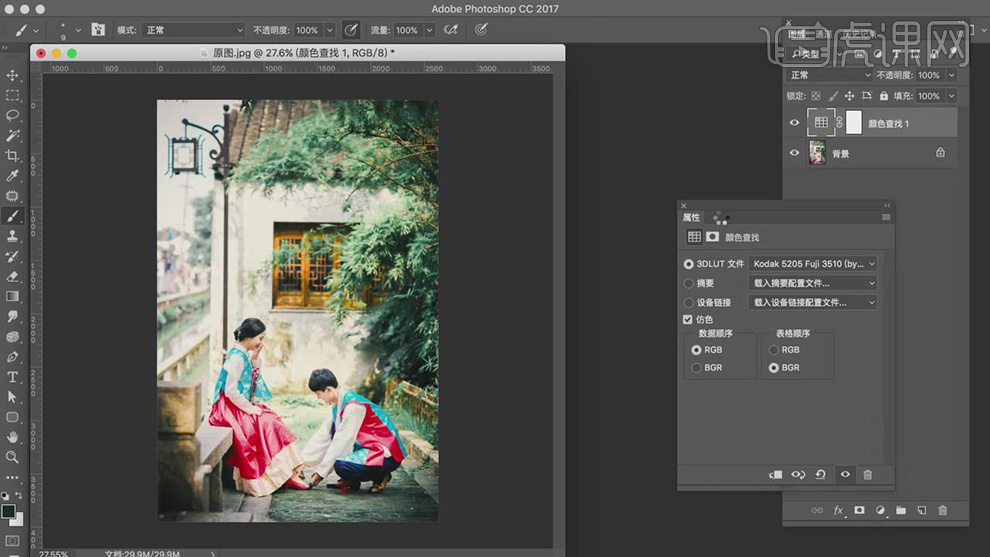
7.调整颜色查找图层【不透明度】35%。新建【可选颜色】,调整【黄色】参数,具体参数效果如图示。
![](https://pic.huke88.com/upload/content/2018/10/03/15385765536271.jpg)
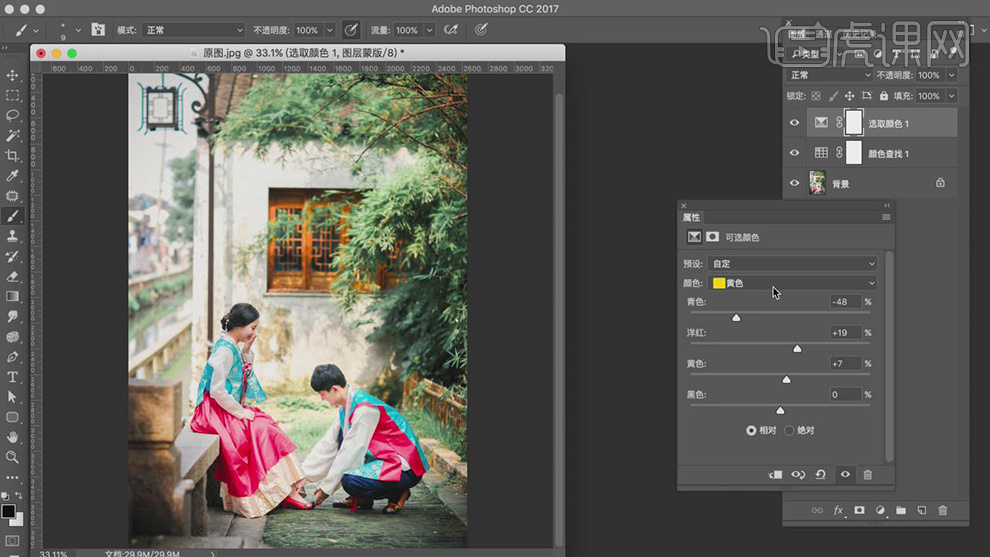
8.【可选颜色】面板,调整【红色】参数,具体参数效果如图示。
![](https://pic.huke88.com/upload/content/2018/10/03/1538576560876.jpg)
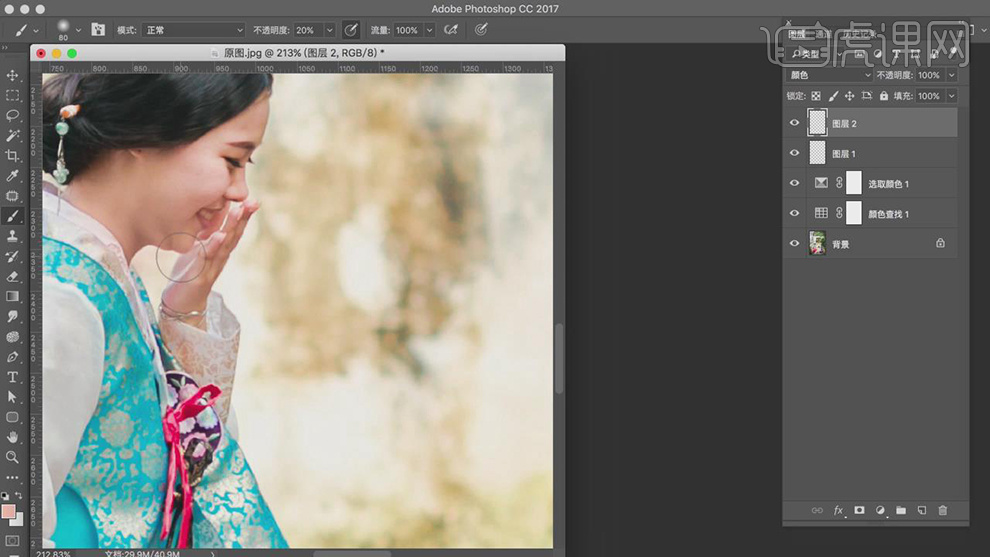
9.【Ctrl+Shift+N】新建图层,【模式】柔光。【Ctrl+Shift+N】新建图层,【模式】颜色。使用【I】吸管工具,吸取皮肤颜色,使用【画笔工具】,不透明度20%,进行涂抹。
![](https://pic.huke88.com/upload/content/2018/10/03/15385765679872.jpg)
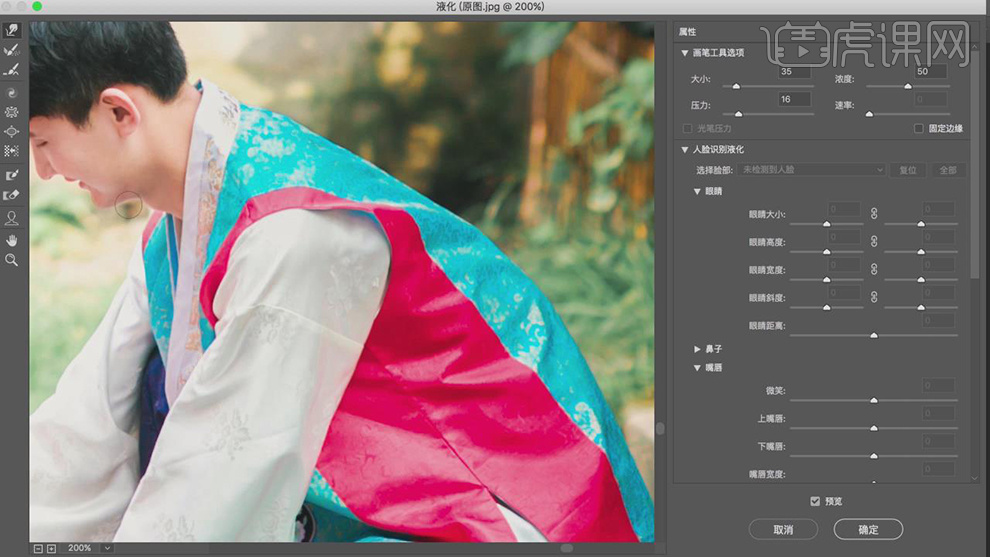
10.【Ctrl+Alt+Shift+E】盖印图层,【Ctrl+Shift+X】液化,对人物进行液化调整,具体如图示。
![](https://pic.huke88.com/upload/content/2018/10/03/15385765736007.jpg)
11.【Ctrl+J】复制两个图层,【滤镜】-【模糊】-【高斯模糊】2像素。另一【图层】,【图像】-【应用图像】,【图层】图层3拷贝,【混合】减去,【缩放】2,【补偿值】128,【图层模式】线性光。
![](https://pic.huke88.com/upload/content/2018/10/03/15385765802985.jpg)
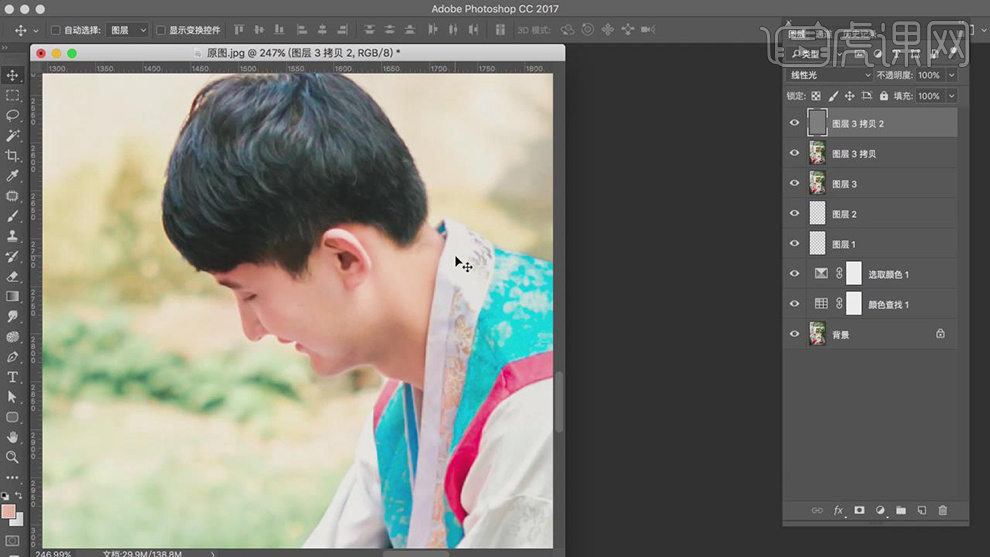
12.使用【S】仿制图章工具,【Alt】取样,进行涂抹皮肤,具体如图示。
![](https://pic.huke88.com/upload/content/2018/10/03/15385766142623.jpg)
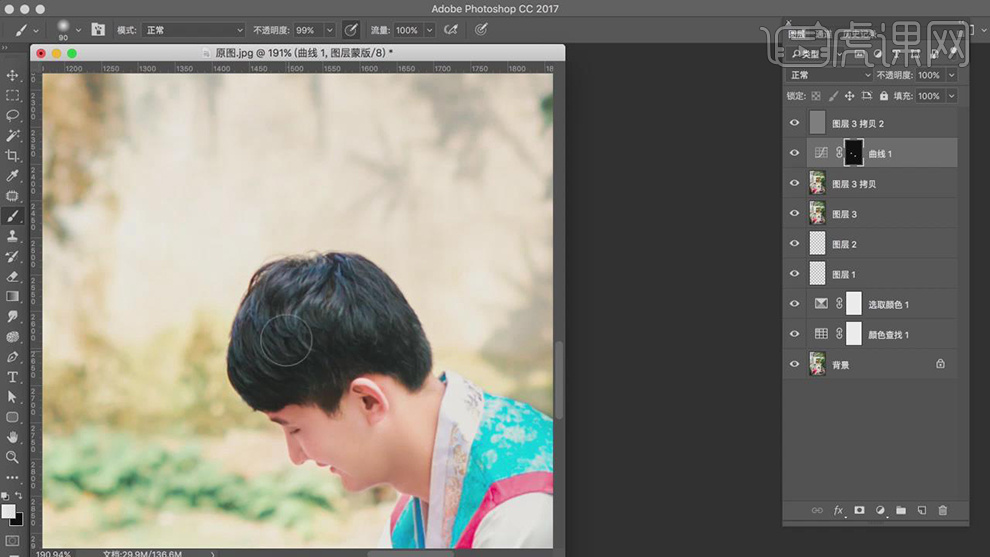
13.新建【曲线】,进行压暗调整,【Ctrl+I】蒙版反向,使用【画笔工具】,白色画笔,进行涂抹头发,具体如图示。
![](https://pic.huke88.com/upload/content/2018/10/03/15385766205588.jpg)
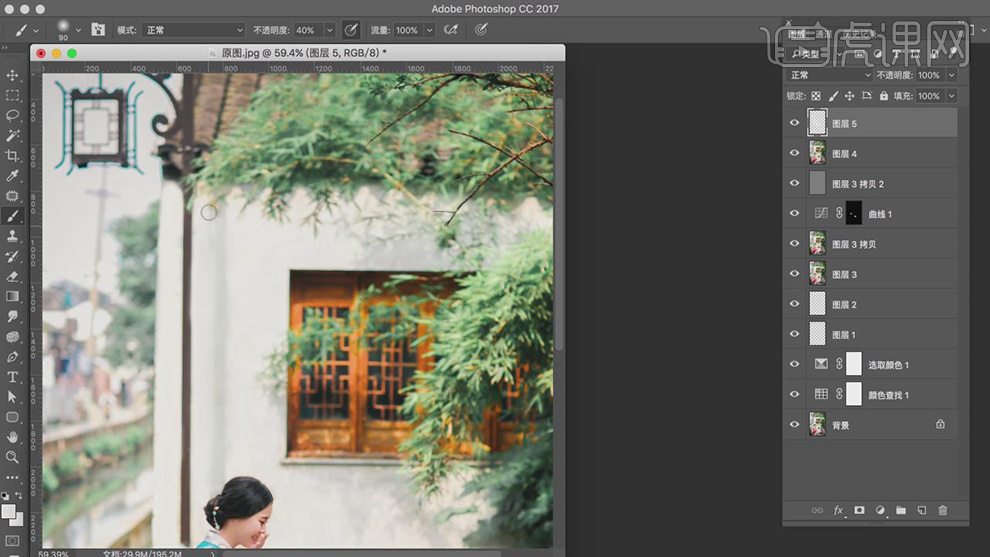
14.【Ctrl+Alt+Shift+E】盖印图层,【Ctrl+Shift+N】新建图层,使用【I】吸管工具,吸取墙面,使用【B】画笔工具,不透明度40%,进行涂抹,具体如图示。
![](https://pic.huke88.com/upload/content/2018/10/03/15385766259756.jpg)