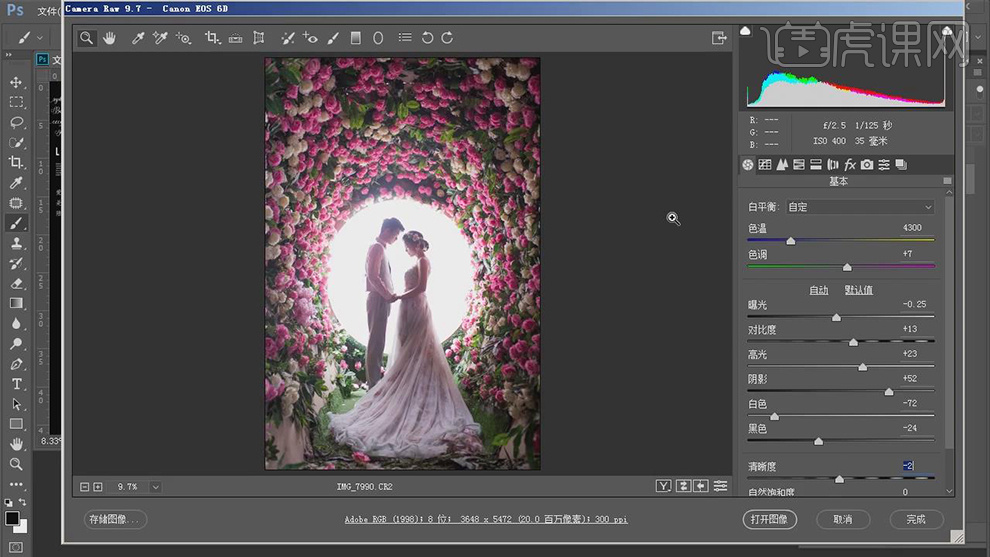
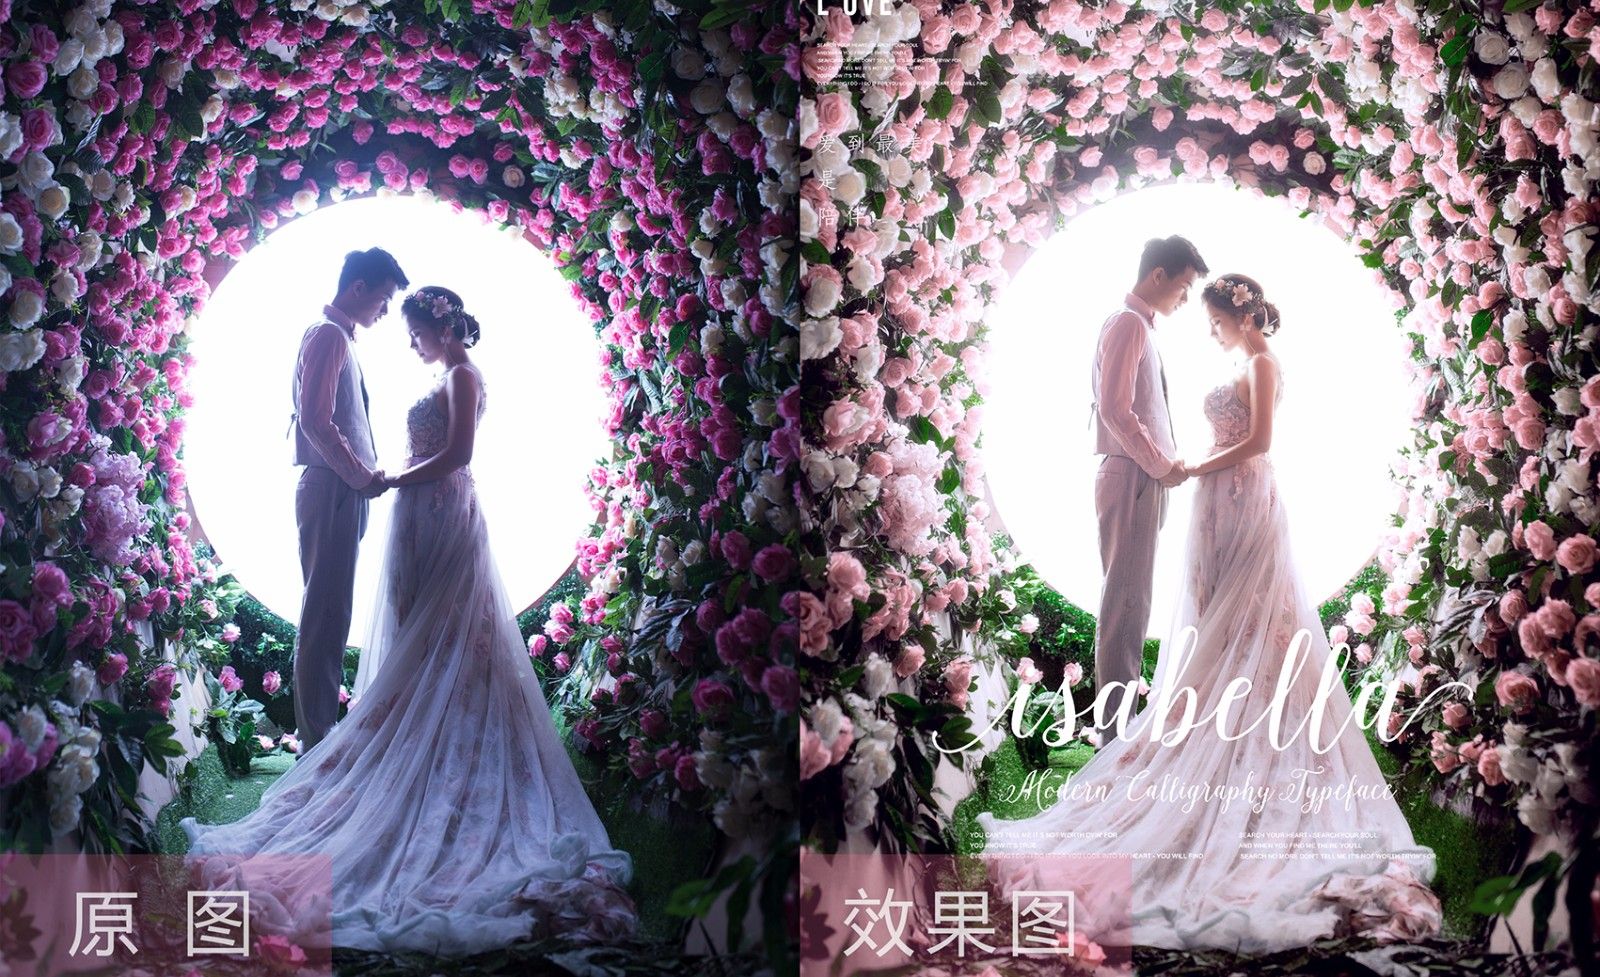
1.【打开】PS,【导入】素材,进入【Camera Raw】滤镜,调整【基本】参数,具体参数效果如图示。
![](https://pic.huke88.com/upload/content/2018/08/01/15330893688428.jpg)
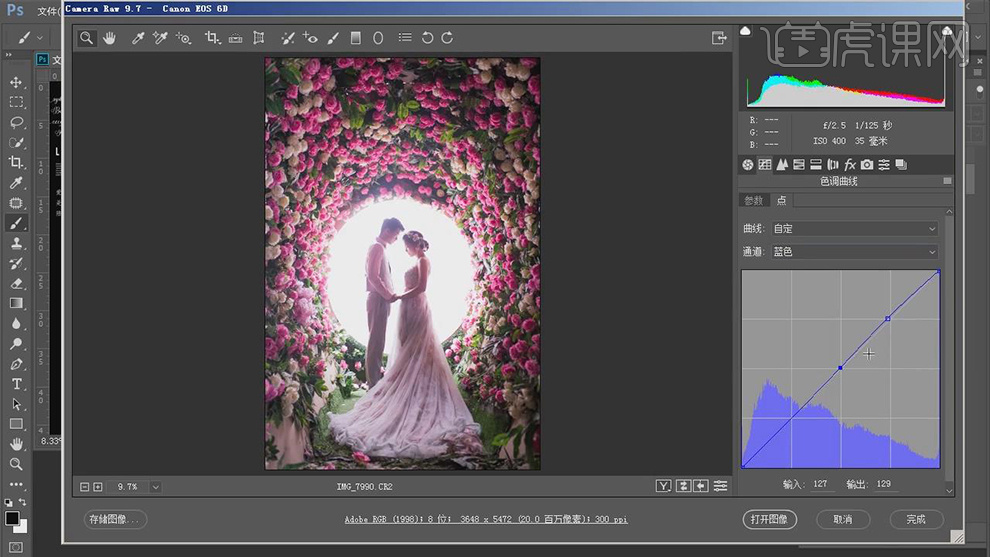
2.【色调曲线】面板,调整RGB,红,蓝,【参数】,具体参数效果如图示。
![](https://pic.huke88.com/upload/content/2018/08/01/15330893748702.jpg)
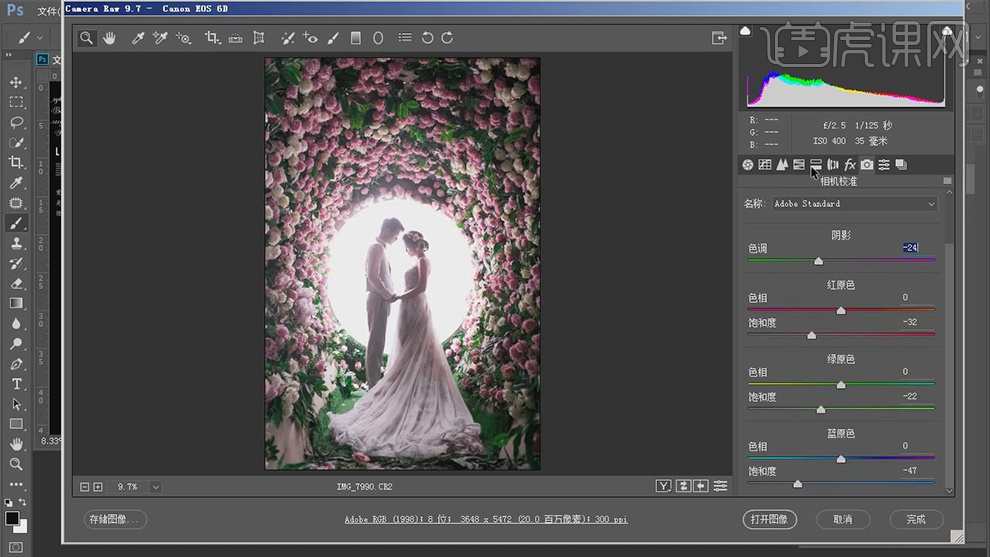
3.【相机校准】面板,调整【参数】,具体参数效果如图示。
![](https://pic.huke88.com/upload/content/2018/08/01/15330893806412.jpg)
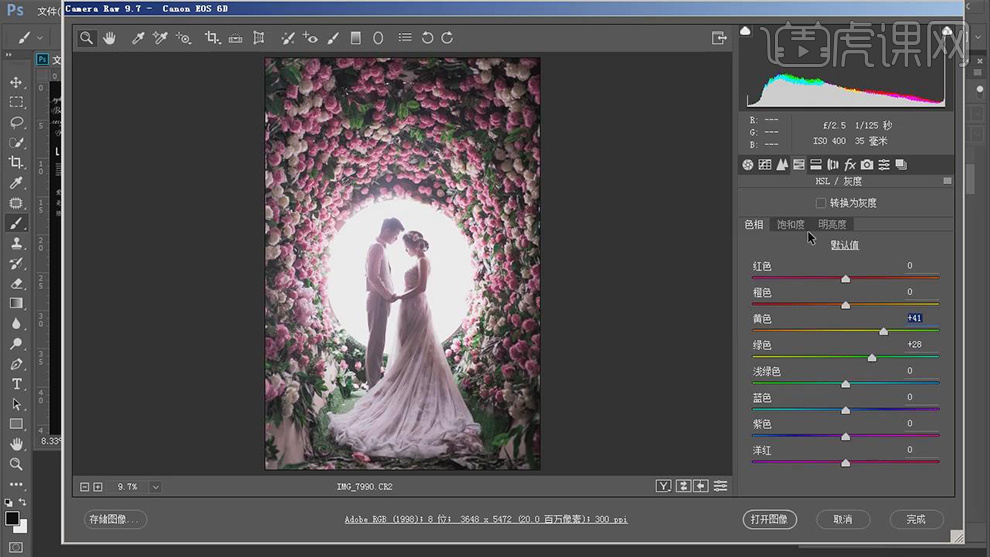
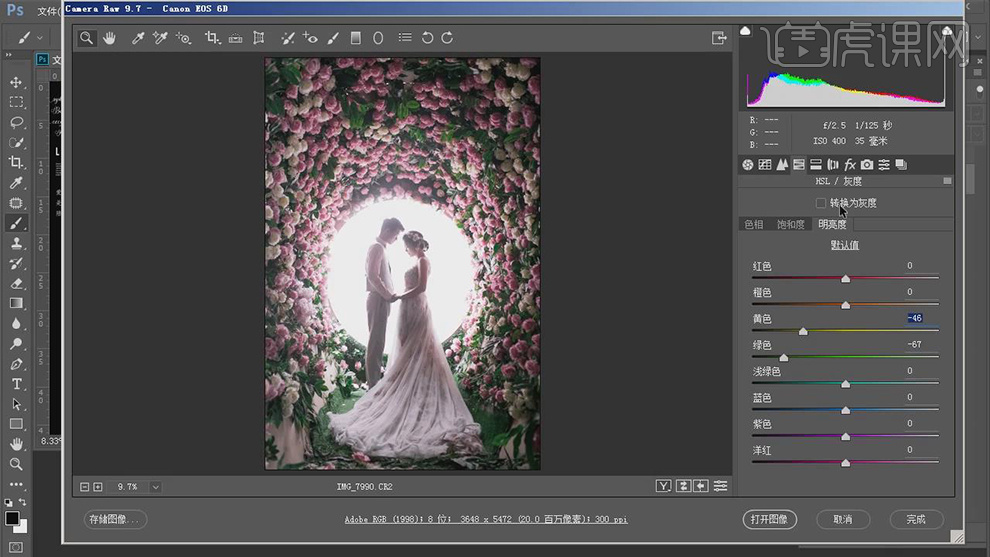
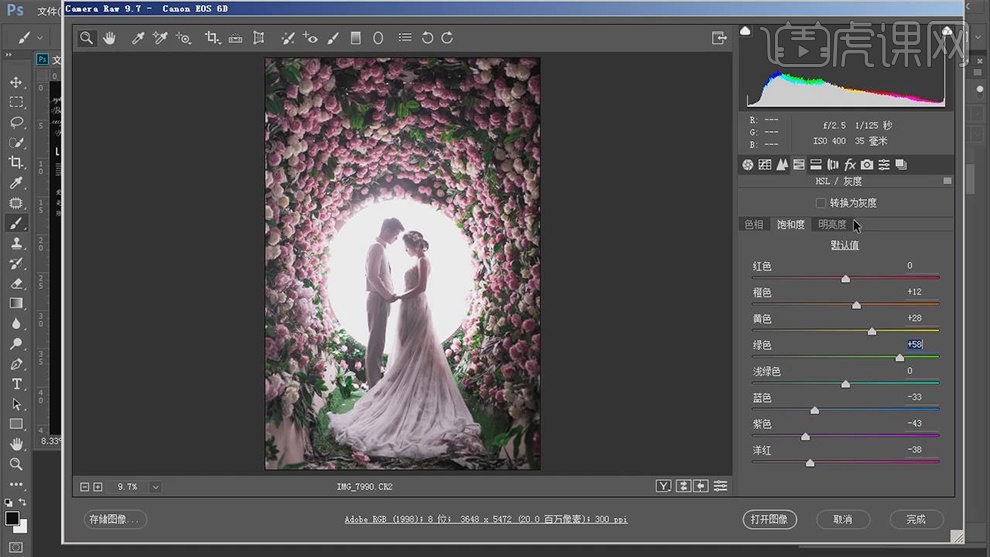
4.【HSL/灰度】面板,调整【色相】参数,具体参数效果如图示。
![](https://pic.huke88.com/upload/content/2018/08/01/15330893866850.jpg)
5.【HSL/灰度】面板,调整【明亮度】参数,具体参数效果如图示。
![](https://pic.huke88.com/upload/content/2018/08/01/15330893925068.jpg)
6.【HSL/灰度】面板,调整【饱和度】参数,具体参数效果如图示。
![](https://pic.huke88.com/upload/content/2018/08/01/15330893999863.jpg)
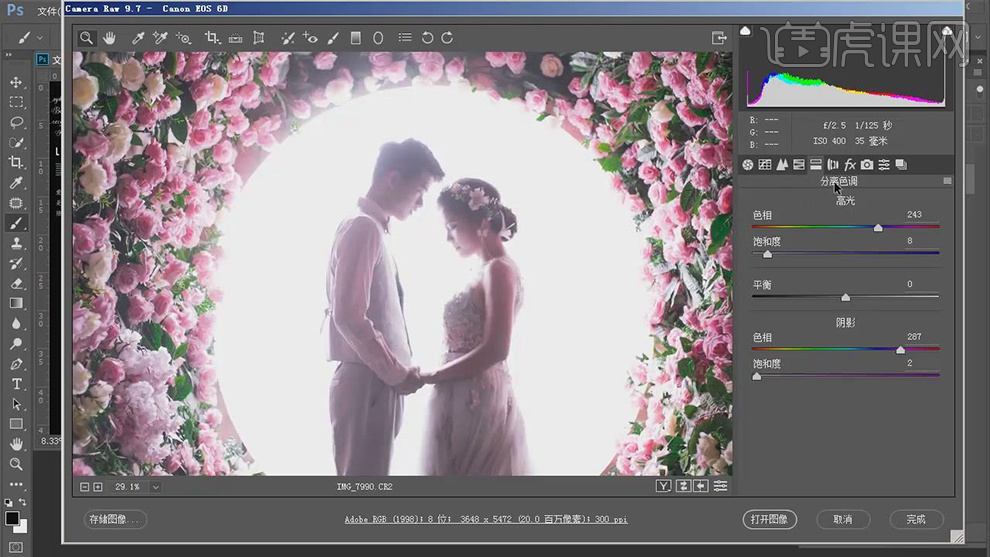
7.【分离色调】面板,调整【参数】,具体参数效果如图示。
![](https://pic.huke88.com/upload/content/2018/08/01/15330894067034.jpg)
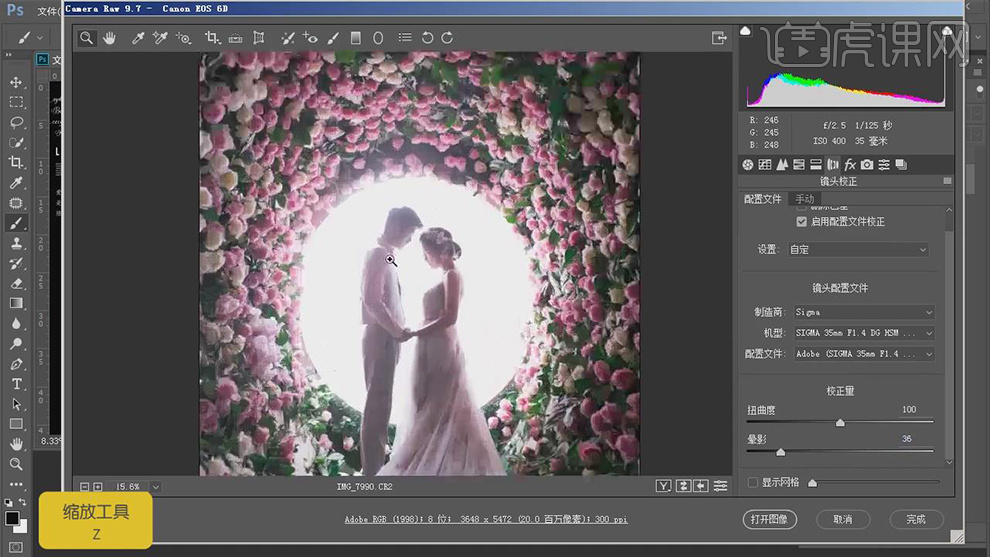
8.【镜头校正】面板,勾选【启用配置文件校正】,调整【校正量】参数,具体参数效果如图示。
![](https://pic.huke88.com/upload/content/2018/08/01/15330894114445.jpg)
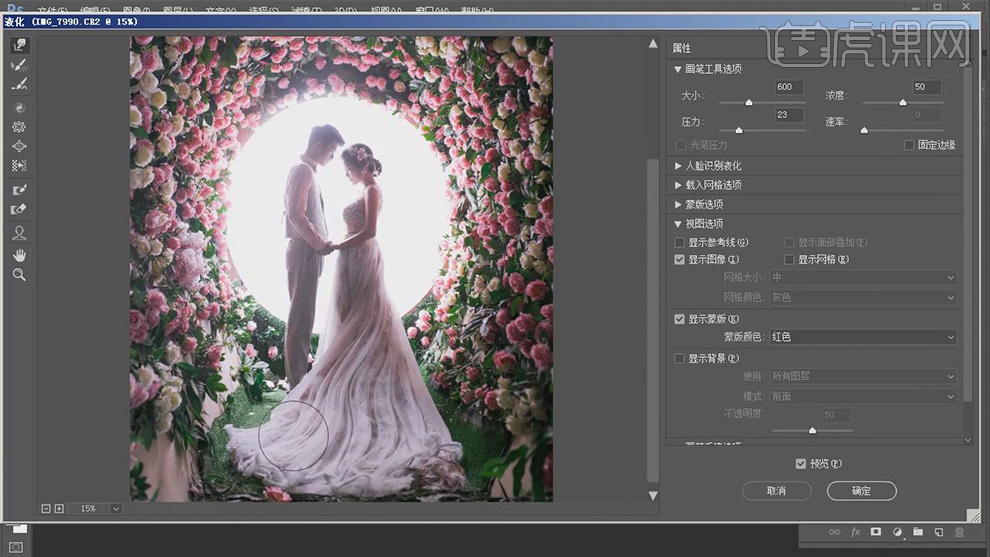
9.【编辑】-【转换为配置文件】,工作中的RGB。【Ctrl+Shift+X】液化,进行液化调整,具体如图示。
![](https://pic.huke88.com/upload/content/2018/08/01/15330894179506.jpg)
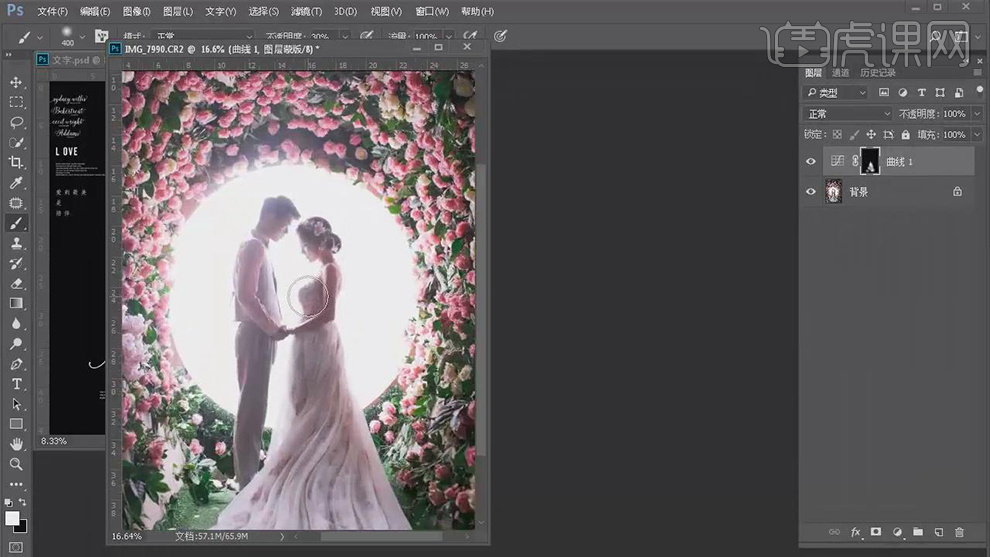
10.新建【曲线】,进行提亮调整。【Ctrl+I】蒙版反向,使用【画笔工具】,白色画笔,进行涂抹,具体如图示。
![](https://pic.huke88.com/upload/content/2018/08/01/15330894412905.jpg)
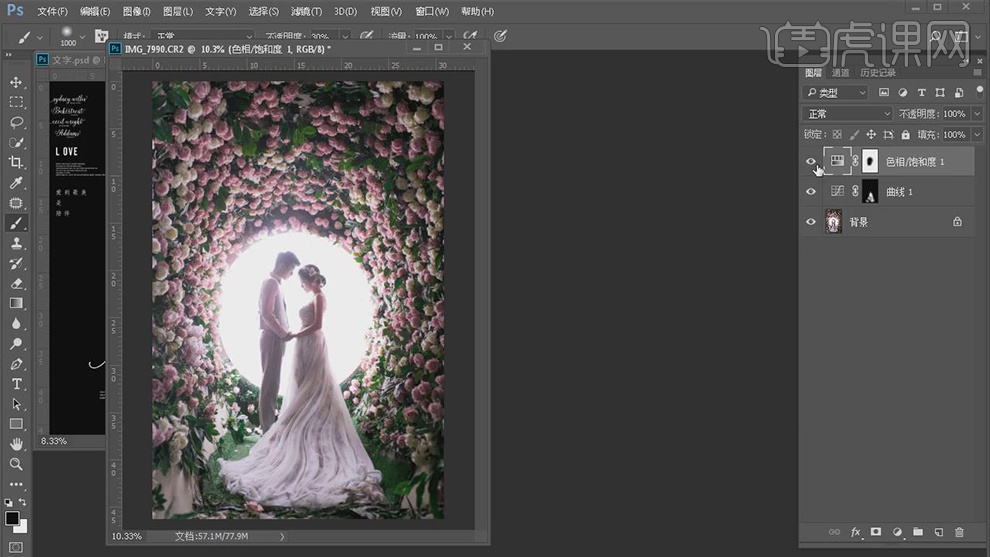
11.新建【色相/饱和度】,调整红色【饱和度】-41。使用【画笔工具】,黑色画笔,对人物进行涂抹,具体如图示。
![](https://pic.huke88.com/upload/content/2018/08/01/15330894457996.jpg)
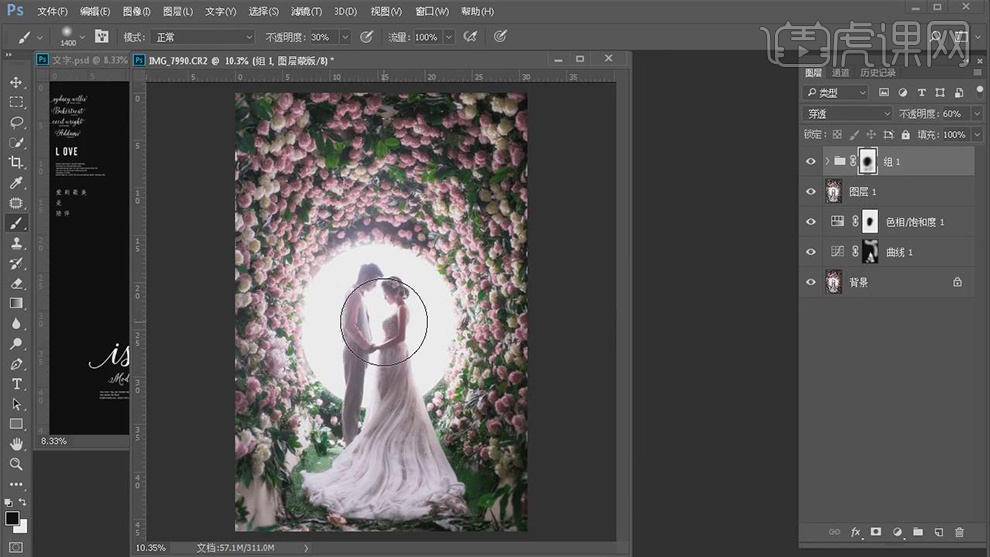
12.【Ctrl+Alt+Shift+E】盖印图层。【Ctrl+Alt+2】选取高光,【Ctrl+J】复制图层,【滤镜】-【模糊】-【高斯模糊】31.8像素。【图层模式】滤色。【Ctrl+J】复制图层,【图层模式】柔光。【Ctrl+G】图层编组,【不透明度】60%。
![](https://pic.huke88.com/upload/content/2018/08/01/15330894521639.jpg)
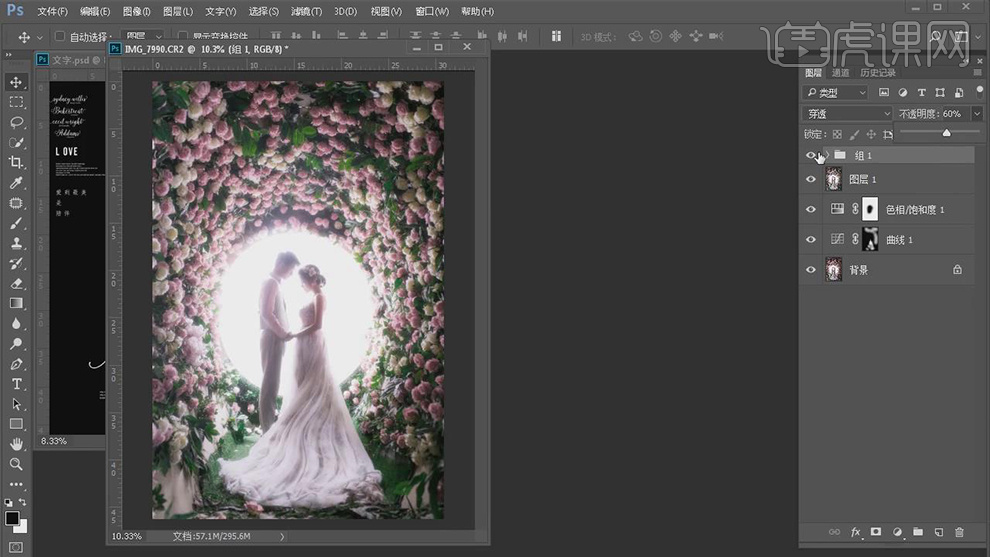
13.添加【蒙版】,使用【画笔工具】,黑色画笔,涂抹人物,具体如图示。
![](https://pic.huke88.com/upload/content/2018/08/01/15330894582352.jpg)