1.原图分析:明暗对比不够强烈,没有表现出质感。
![](https://pic.huke88.com/upload/content/2018/10/20/15400437158076.jpg)
2.打开【PS】,【Ctrl+J】复制图层,使用【钢笔工具】把电话抠出来,【Ctrl+Enter】路径转换为选区,【Ctrl+Shift+I】选区反选,【Delete】删除。
![](https://pic.huke88.com/upload/content/2018/10/20/15400437259311.jpg)
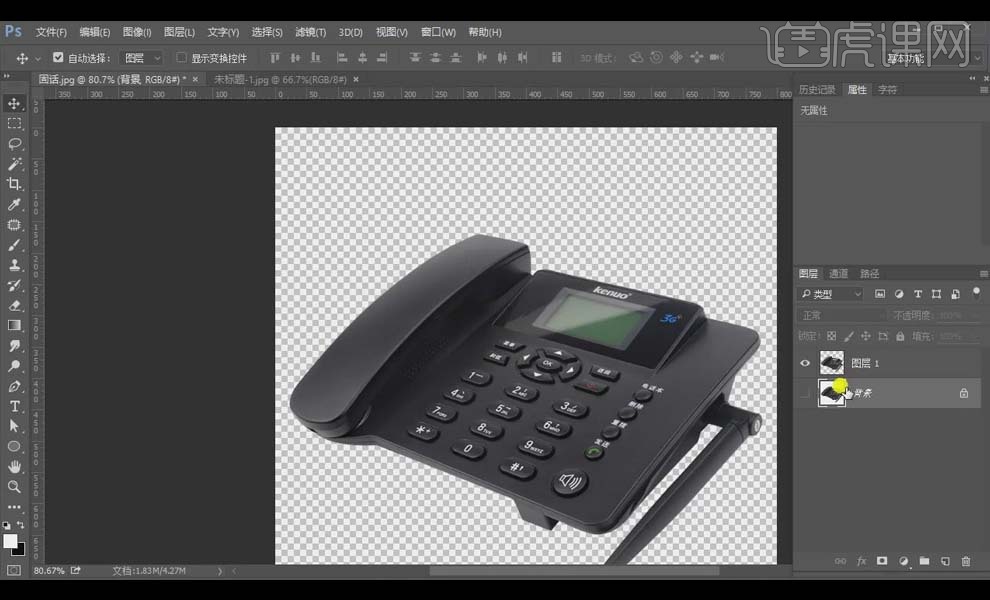
3.在下面新建图层,【Ctrl+Delete】填充背景色【白色】。
![](https://pic.huke88.com/upload/content/2018/10/20/15400437324415.jpg)
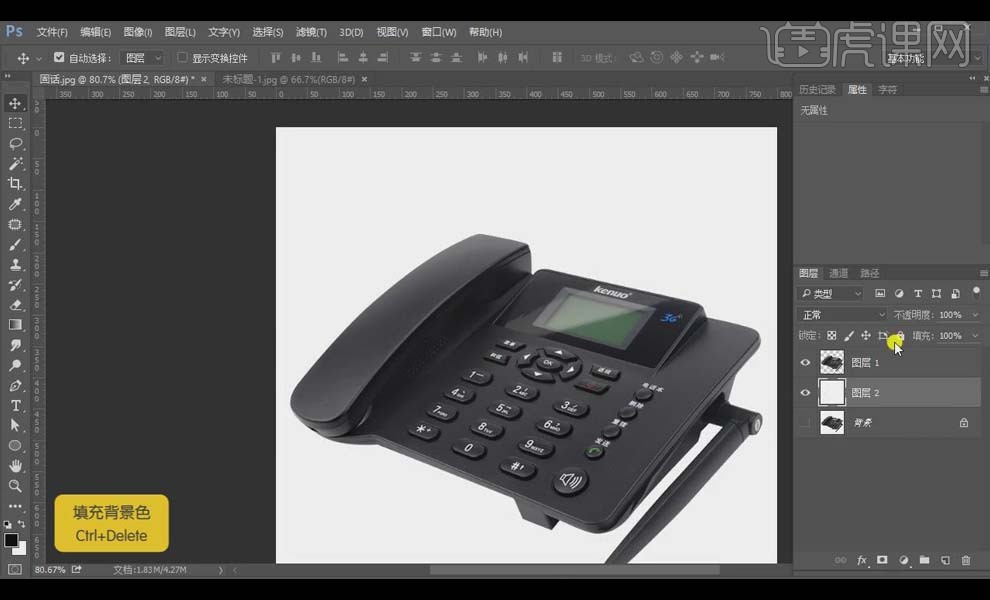
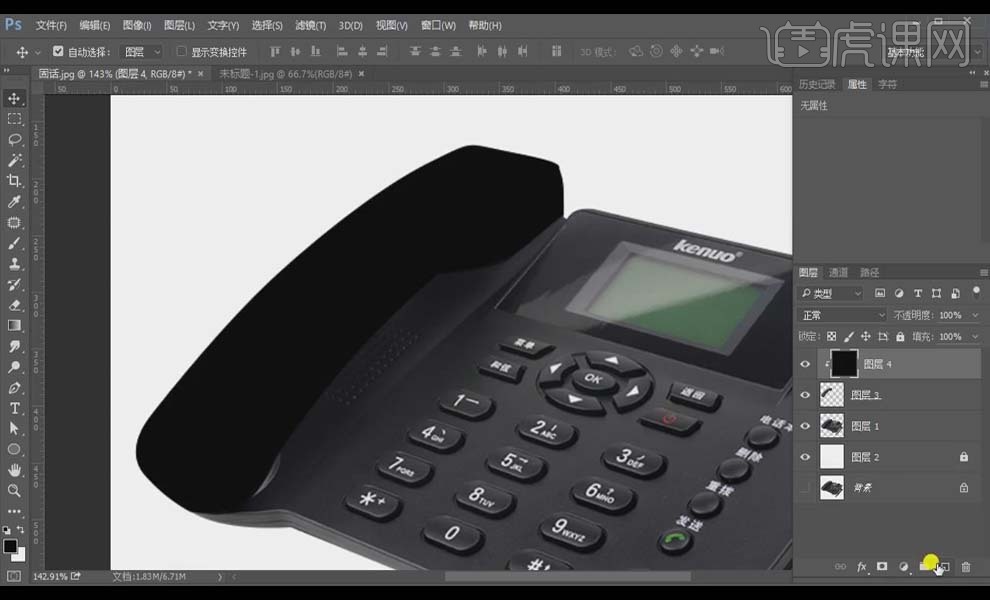
4.使用【钢笔工具】把电话话筒抠出来,【Ctrl+Enter】路径转换为选区,【Ctrl+J】复制图层。
![](https://pic.huke88.com/upload/content/2018/10/20/1540043738201.jpg)
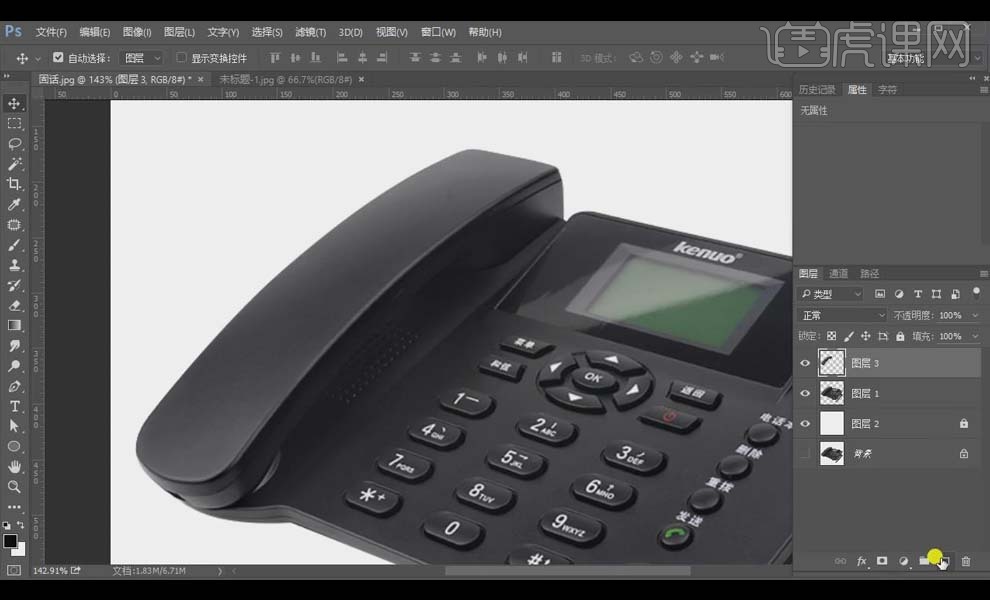
5.新建图层,按住【Alt】键单击图层间【创建剪切蒙版】,填充【黑色】。
![](https://pic.huke88.com/upload/content/2018/10/20/15400437468961.jpg)
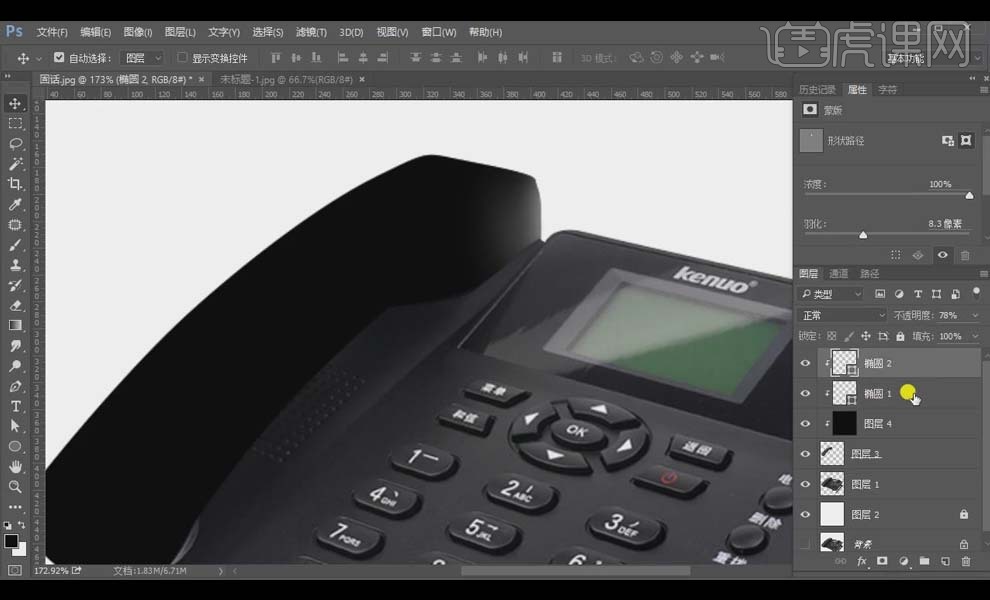
6.新建图层,【创建剪切蒙版】, 使用【椭圆工具】绘制椭圆,填充白色,拉高【羽化】值到19.8像素,降低图层【不透明度】。
![](https://pic.huke88.com/upload/content/2018/10/20/15400437522089.jpg)
7.新建图层,【创建剪切蒙版】,同样的方式绘制椭圆,【羽化】8.3像素,降低图层【不透明度】。
![](https://pic.huke88.com/upload/content/2018/10/20/15400437594054.jpg)
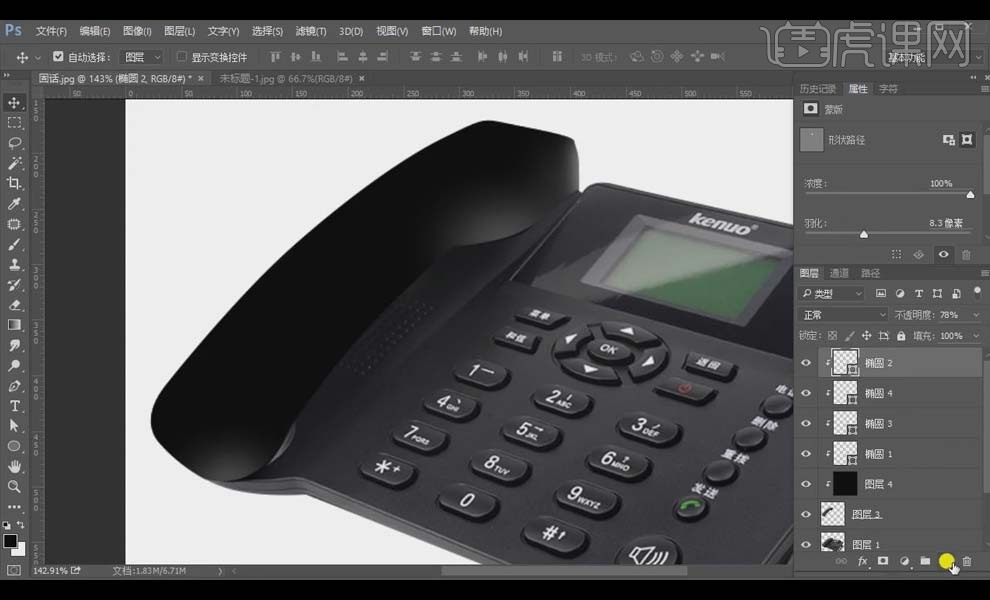
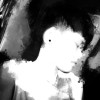
8.新建图层,使用【椭圆工具】绘制话筒底部的反光,【羽化】24.8像素;同样的方式制作话筒底部的反光。具体如图所示。
![](https://pic.huke88.com/upload/content/2018/10/20/15400437661229.jpg)
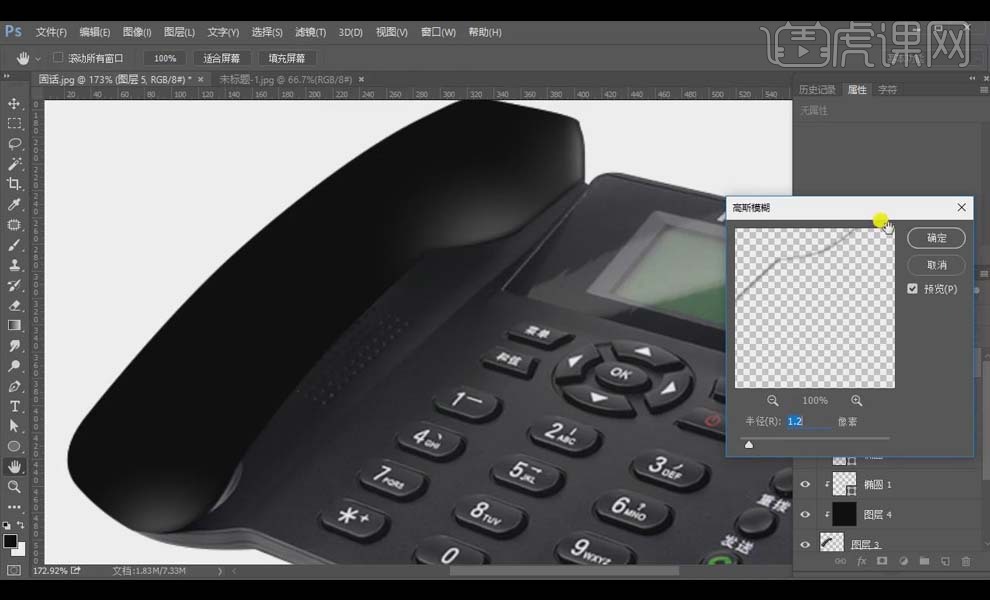
9.新建图层,【创建剪切蒙版】,按住【Ctrl】键单击话筒图层调出话筒选区,【Ctrl+Shift+I】选区反选,填充【黑色】。
![](https://pic.huke88.com/upload/content/2018/10/20/1540043772825.jpg)
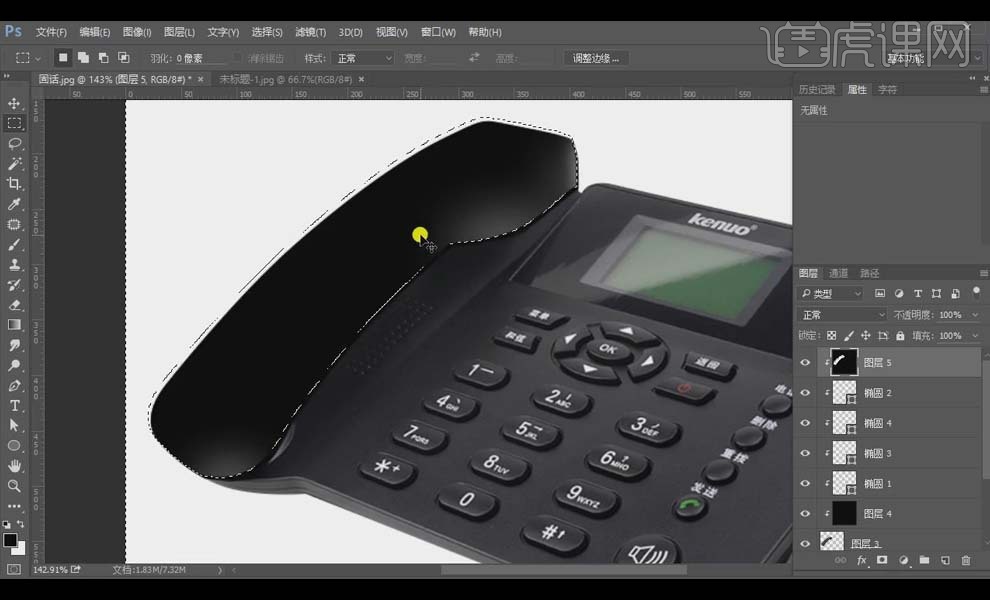
10.【Ctrl+I】蒙版反向,选择【滤镜】-【模糊】-【高斯模糊】,【半径】1.2像素。
![](https://pic.huke88.com/upload/content/2018/10/20/15400437782114.jpg)
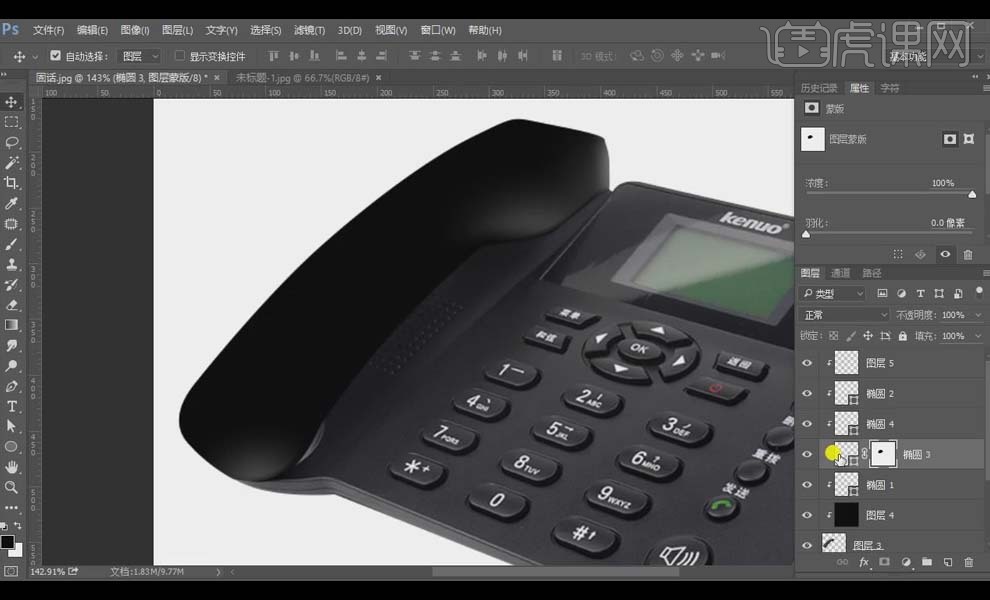
11.选中话筒底下的高光图层,单击【添加图层蒙版】,使用白色【画笔工具】擦除底下的光。
![](https://pic.huke88.com/upload/content/2018/10/20/15400437896795.jpg)
12.使用【钢笔工具】将话筒接合线上面的部分,【Ctrl+J】复制图层,新建图层,按住【Alt】键单击图层间【创建剪切蒙版】,填充【黑色】。
![](https://pic.huke88.com/upload/content/2018/10/20/15400437954075.jpg)
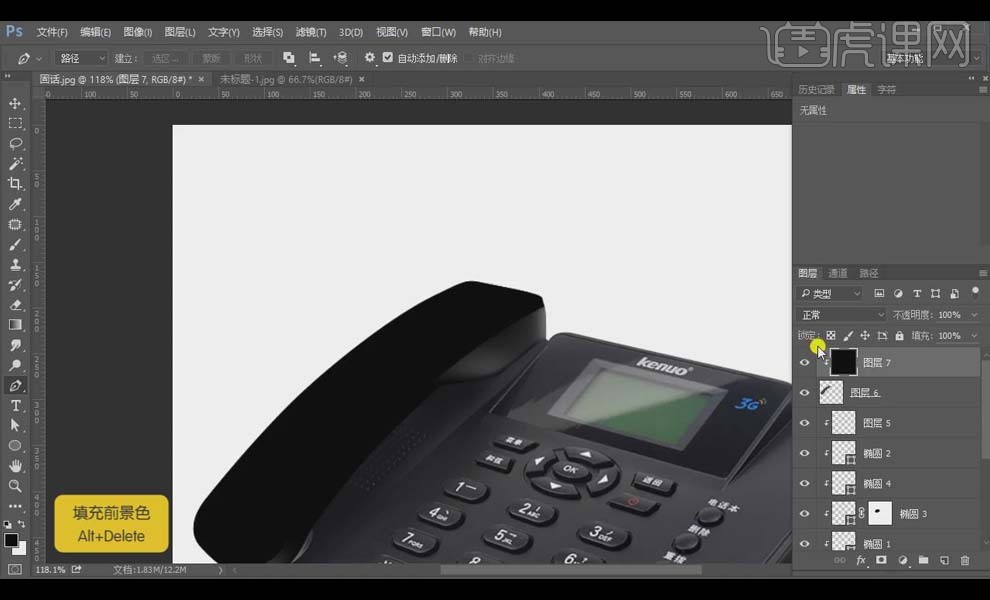
13.新建图层,调出选区,【矩形选框工具】向右移动选框,【Ctrl+Shift+I】选区反选,填充【白色】。
![](https://pic.huke88.com/upload/content/2018/10/20/15400438017834.jpg)
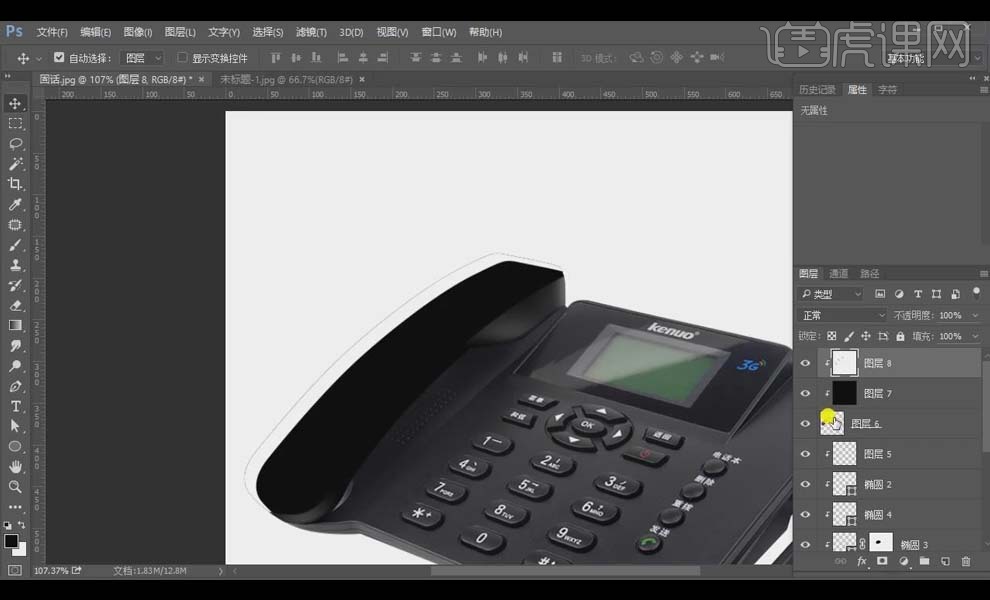
14.【Ctrl+I】蒙版反向去掉不需要的部分,【Ctrl+T】调整大小做出话筒侧边的反光,选择【滤镜】-【模糊】-【高斯模糊】,【半径】16.6像素,降低图层【不透明度】。
![](https://pic.huke88.com/upload/content/2018/10/20/15400438062362.jpg)
15.同样的方法画出话筒的反光,【高斯模糊】的【半径】4.7像素。具体效果如图所示。