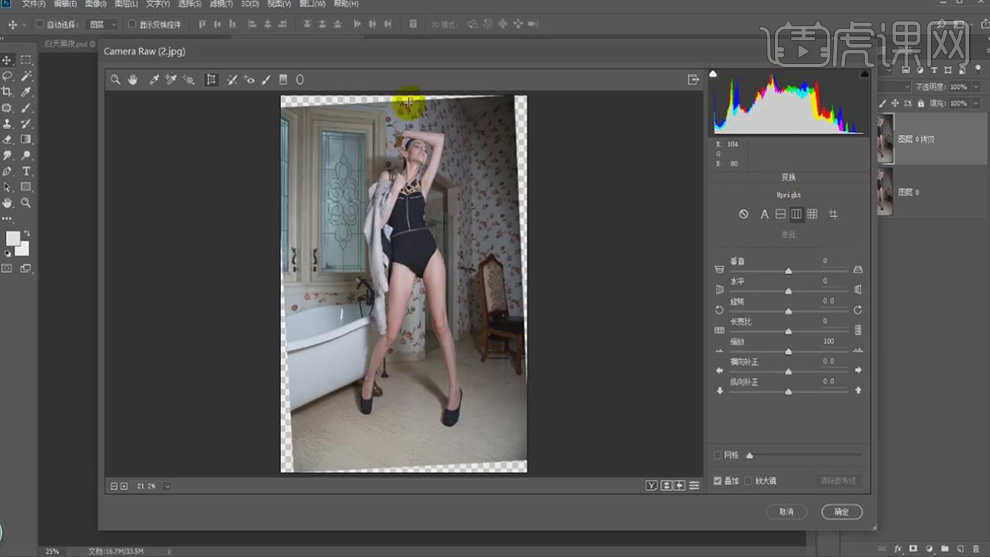
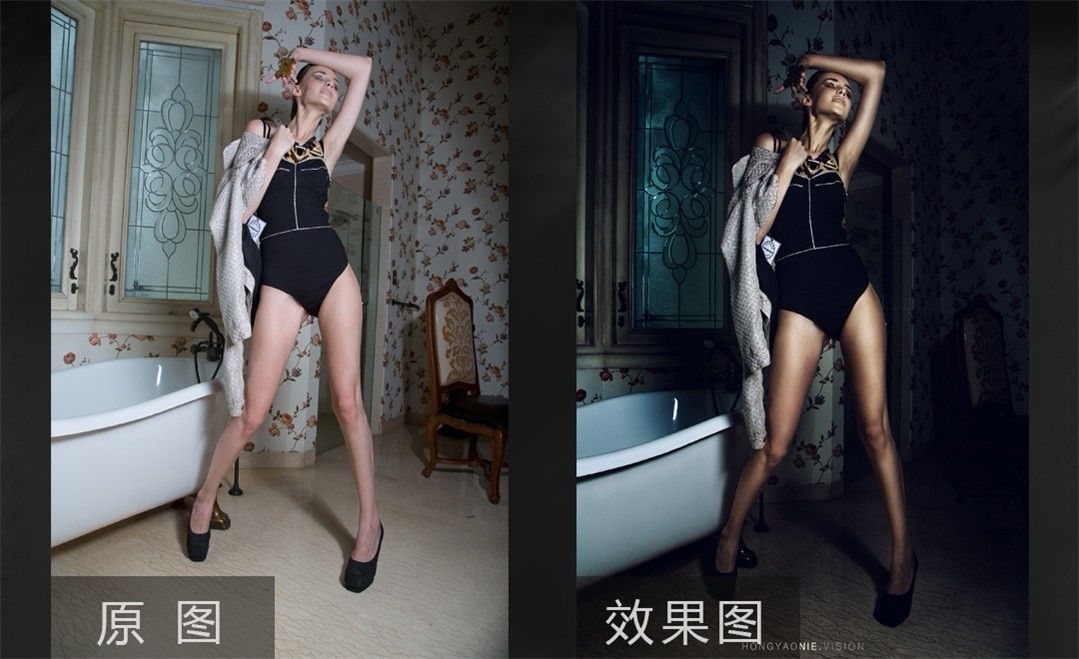
1.【打开】PS,【导入】素材,【Ctrl+J】复制图层,【Ctrl+Shift+A】Camera Raw滤镜,点击【变化】垂直校正,具体如图示。
![](https://pic.huke88.com/upload/content/2018/09/02/15358580371708.jpg)
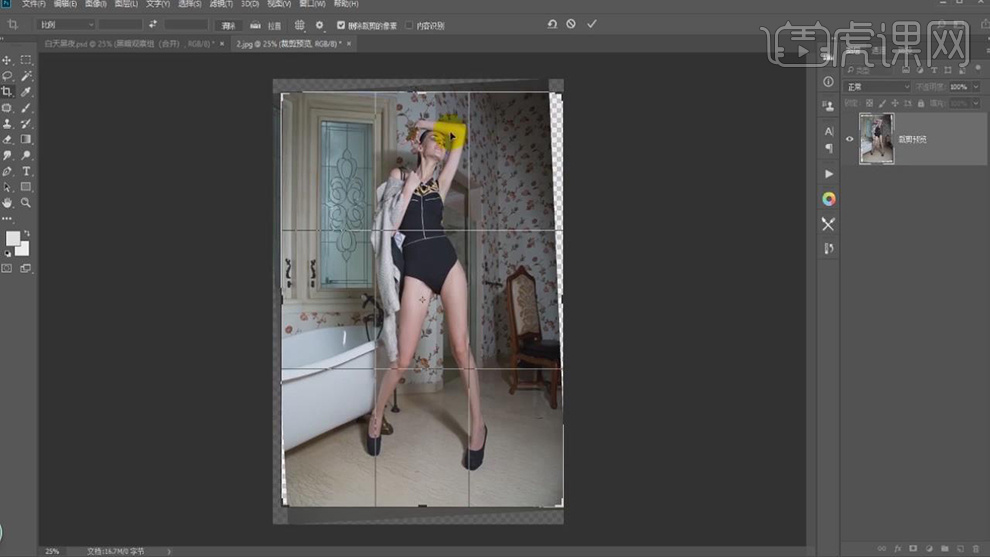
2.使用【C】裁剪工具,对画面进行裁剪,具体如图示。
![](https://pic.huke88.com/upload/content/2018/09/02/15358580459763.jpg)
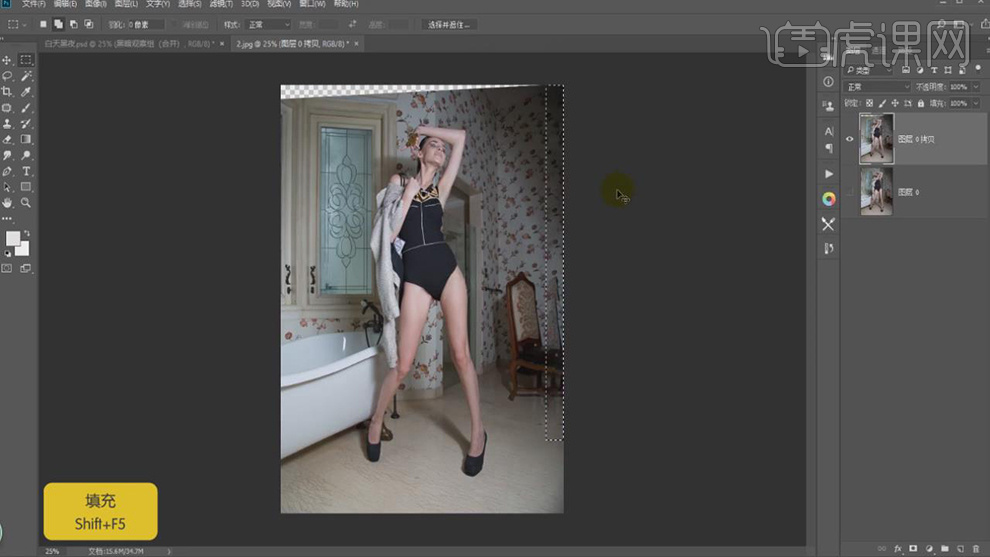
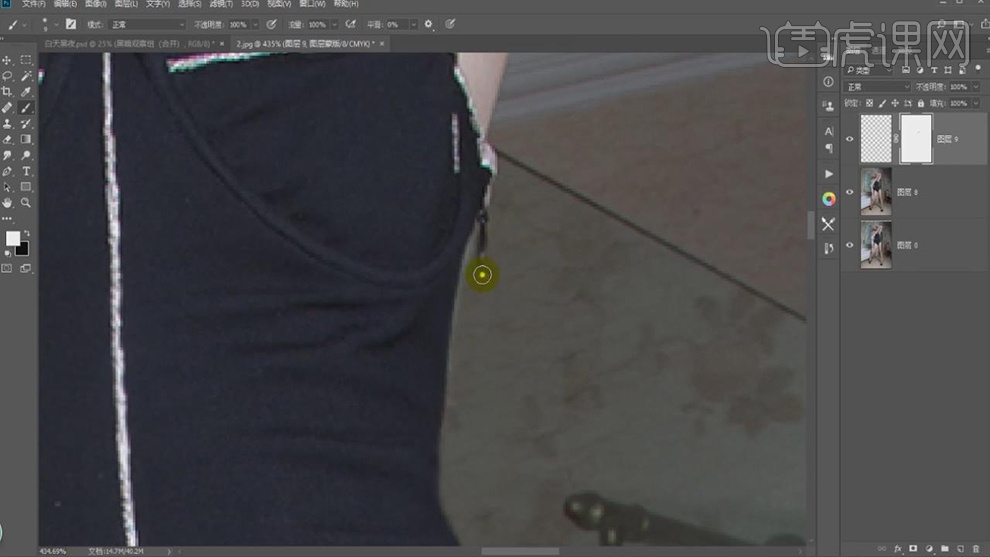
3.使用【矩形选框工具】,进行选区,【Shift+F5】填充内容识别,具体如图示。
![](https://pic.huke88.com/upload/content/2018/09/02/15358580533119.jpg)
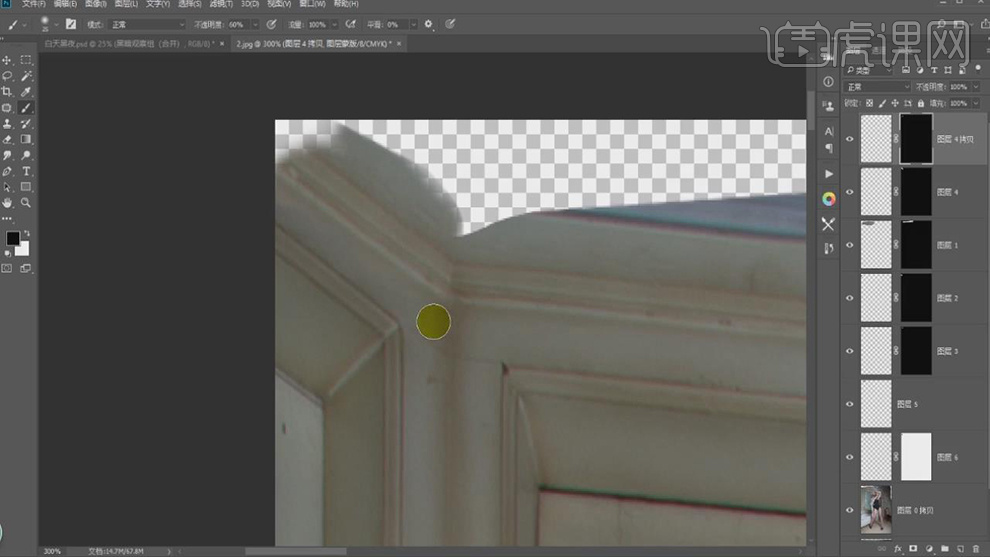
4.使用【套索工具】,进行选区,【Ctrl+J】复制图层,移动【位置】,添加【蒙版】,【Ctrl+I】蒙版反向,使用【画笔工具】,白色画笔,进行涂抹,具体如图示。
![](https://pic.huke88.com/upload/content/2018/09/02/15358580669095.jpg)
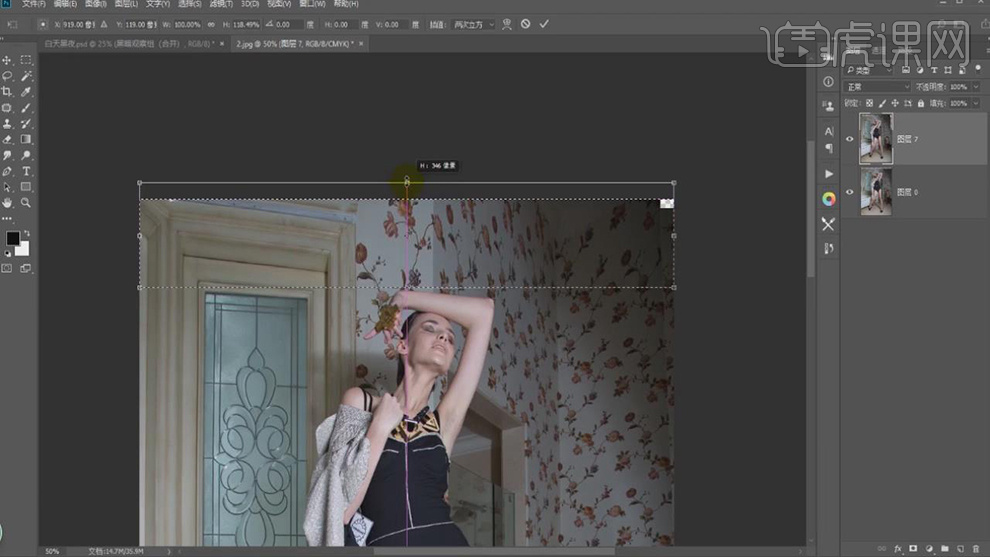
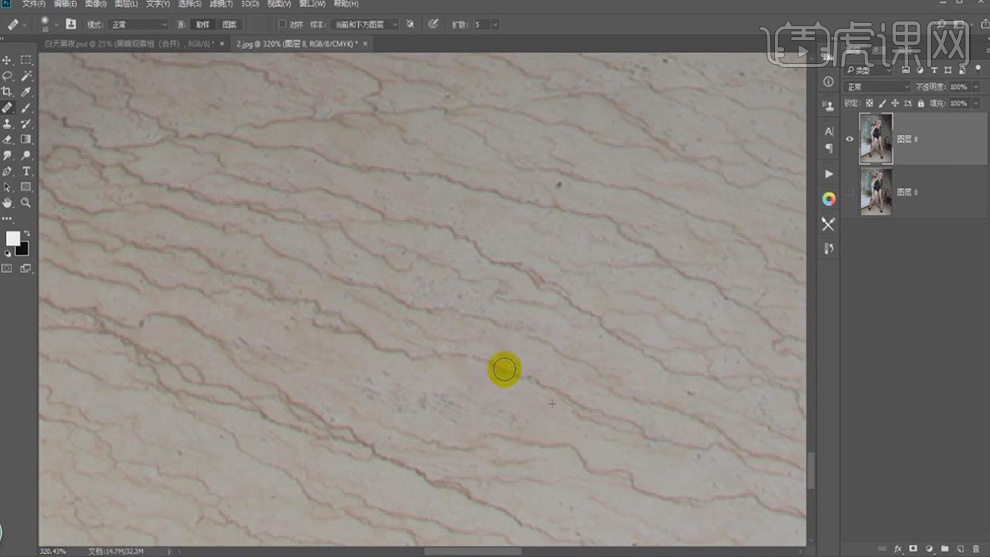
5.【Ctrl+Alt+Shift+E】盖印图层,使用【矩形选框工具】,进行选区,【Ctrl+T】进行拉伸,具体如图示。
![](https://pic.huke88.com/upload/content/2018/09/02/15358580733033.jpg)
6.使用【修补画笔工具】,【Alt】取样,对画面进行修复瑕疵,具体如图示。
![](https://pic.huke88.com/upload/content/2018/09/02/15358580816578.jpg)
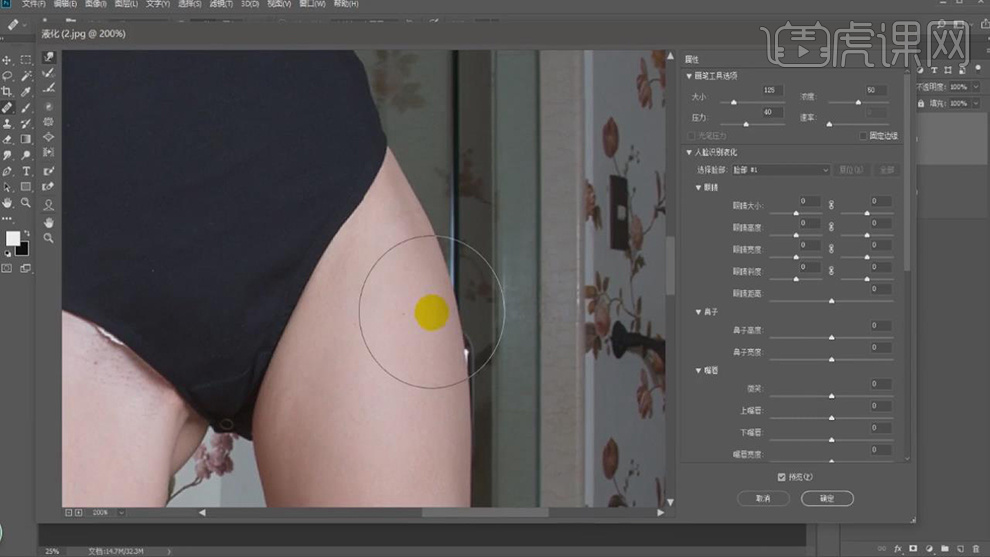
7.【Ctrl+Shift+X】液化,对人物进行液化调整,具体如图示。
![](https://pic.huke88.com/upload/content/2018/09/02/15358580882658.jpg)
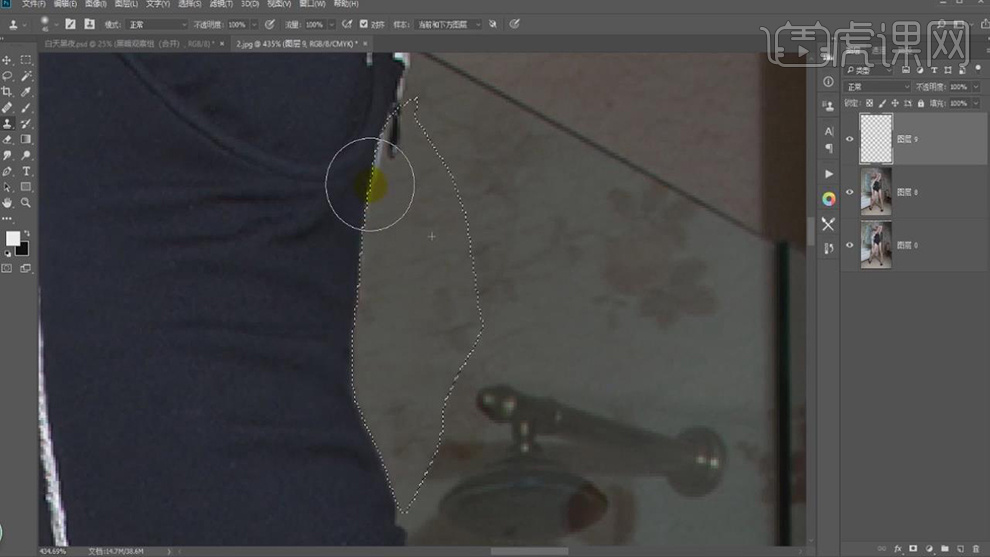
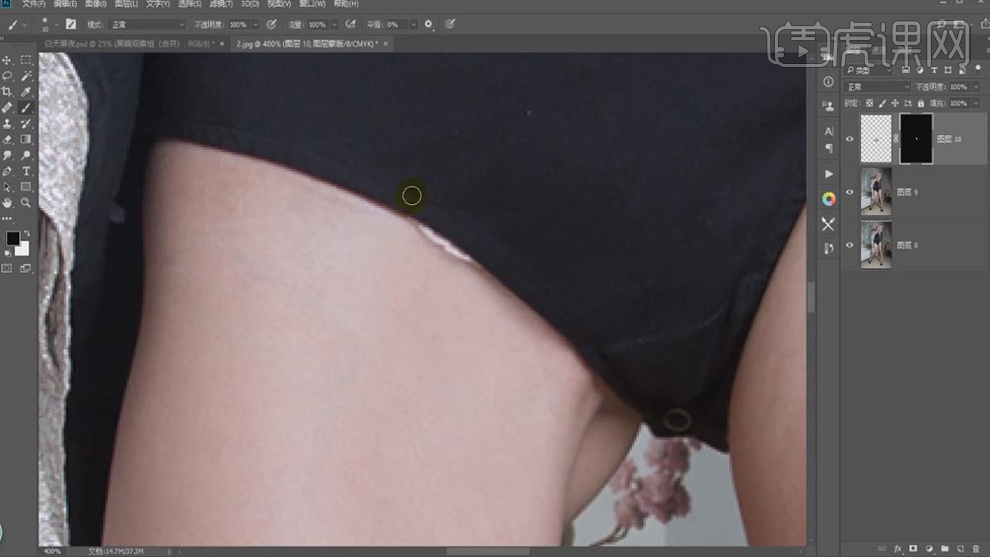
8.使用【P】钢笔工具,进行选区,【Shift+F6】羽化1像素,使用【S】仿制图章工具,【Alt】取样,进行涂抹。
![](https://pic.huke88.com/upload/content/2018/09/02/15358581013633.jpg)
9.添加【蒙版】,使用【画笔工具】,黑色画笔,进行涂抹,具体如图示。
![](https://pic.huke88.com/upload/content/2018/09/02/1535858109179.jpg)
10.使用【套索工具】,进行选区,【Ctrl+J】复制图层,移动【位置】,【Alt+单击蒙版】,使用【画笔工具】,白色画笔,进行涂抹,具体如图示。
![](https://pic.huke88.com/upload/content/2018/09/02/15358581304586.jpg)
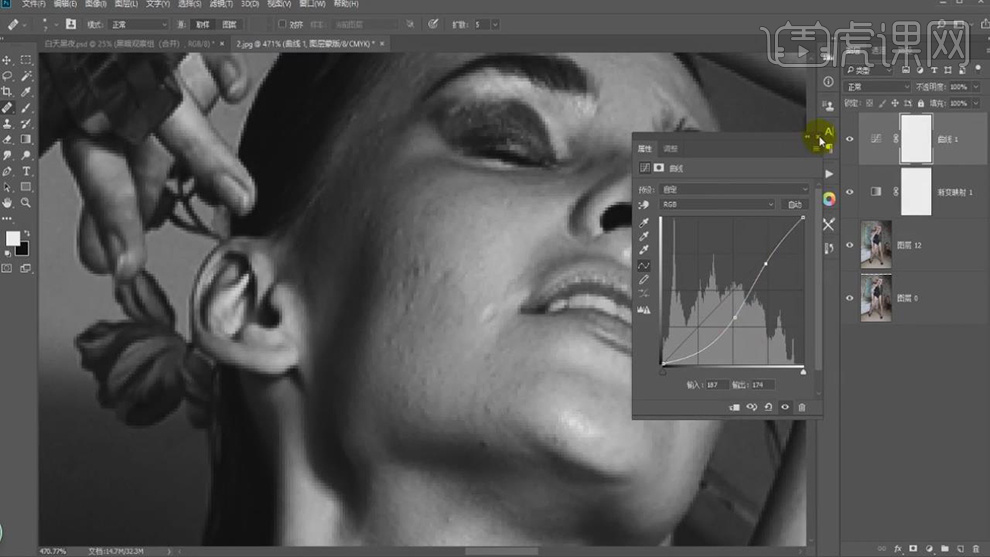
11.新建【渐变映射】,黑色到白色渐变。新建【曲线】,进行压暗调整,具体如图示。
![](https://pic.huke88.com/upload/content/2018/09/02/15358581377251.jpg)
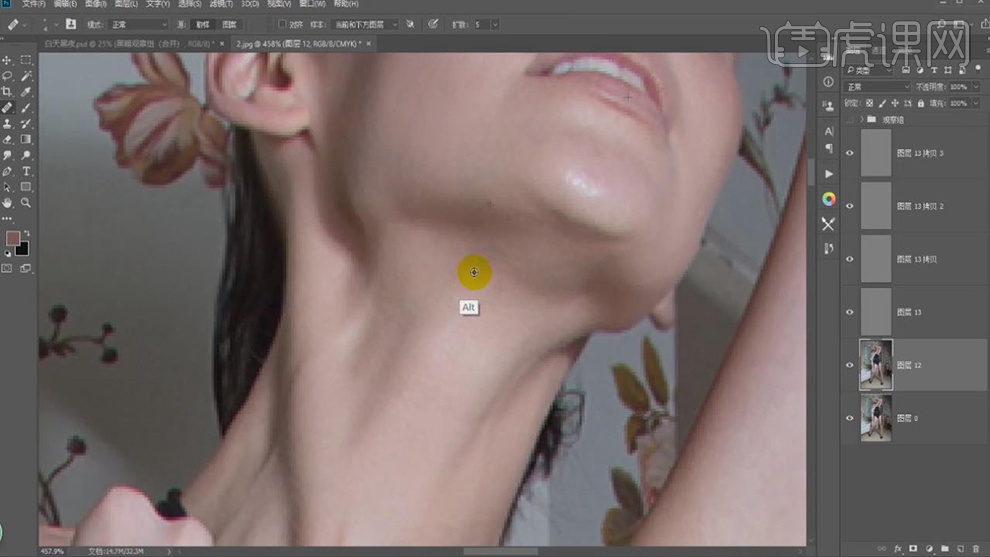
12.【Alt+新建图层】,【模式】柔光,勾选【填充柔光中性色50%灰】。【Ctrl+J】复制图层,使用【污点修复画笔工具】,【Alt】取样,进行涂抹,具体如图示。
![](https://pic.huke88.com/upload/content/2018/09/02/15358581459224.jpg)
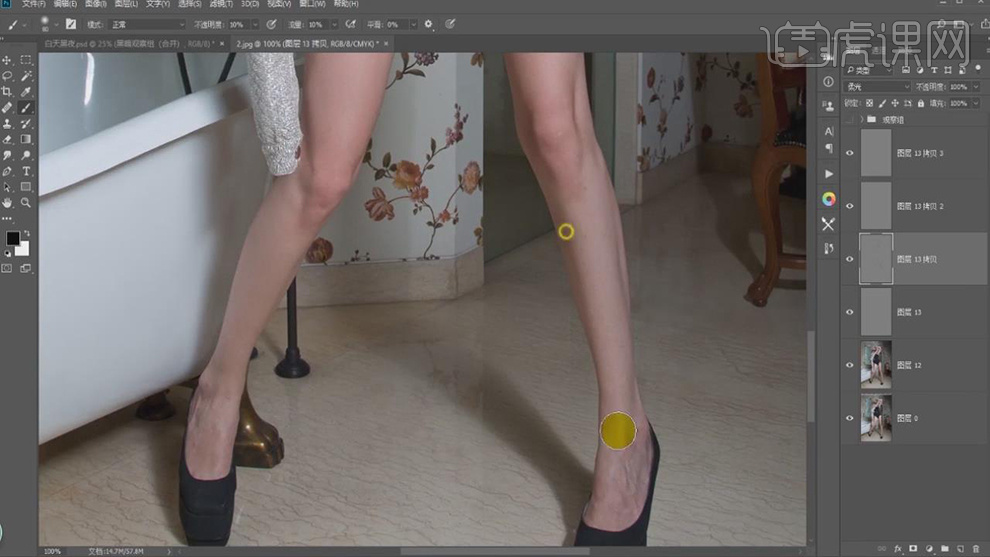
13.使用【画笔工具】,黑色画笔,【X】切换前后背景色,进行涂抹,具体如图示。
![](https://pic.huke88.com/upload/content/2018/09/02/15358581667089.jpg)
14.使用【画笔工具】,白色画笔,【X】切换前后背景色,进行涂抹皮肤,具体如图示。
![](https://pic.huke88.com/upload/content/2018/09/02/15358581715891.jpg)
15.新建【色相/饱和度】,调整【红色】色相+11,具体如图示。
![](https://pic.huke88.com/upload/content/2018/09/02/15358581799509.jpg)
16.新建【色相/饱和度】,调整【红色】色相+5,具体如图示。