
图文教程学员互动 (22) 视频字幕


换一批
为你推荐
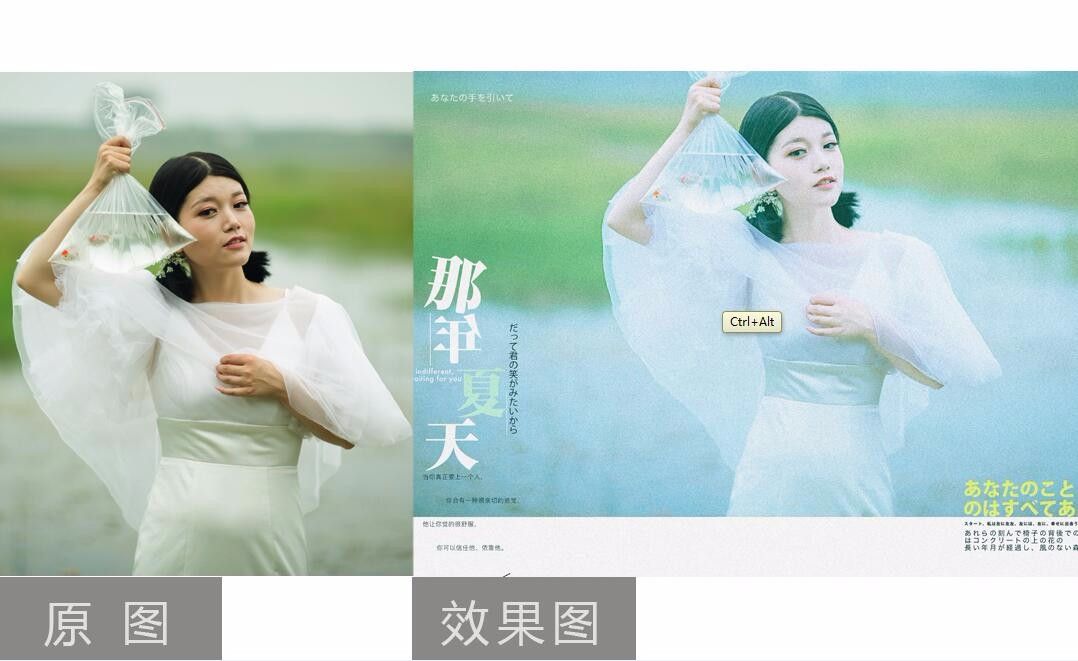
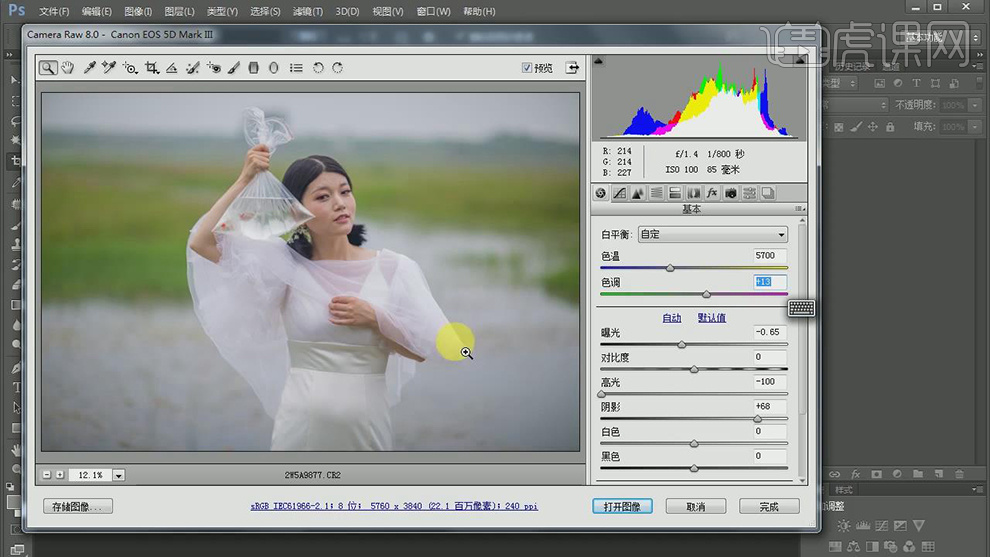
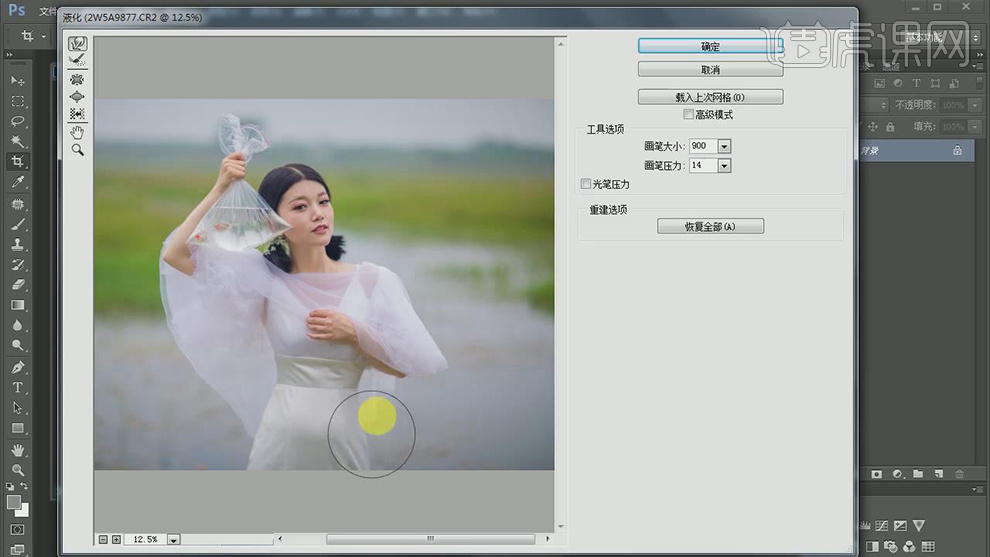
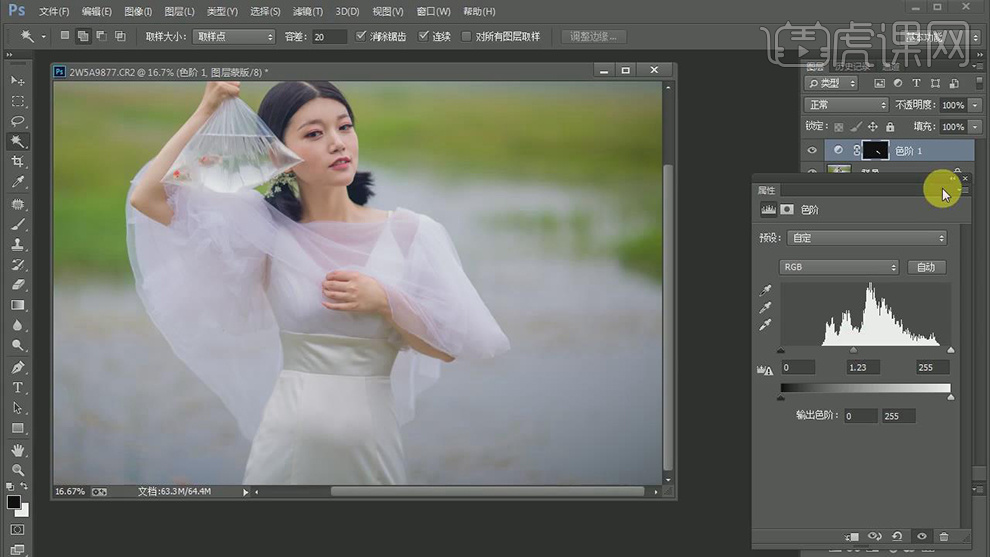
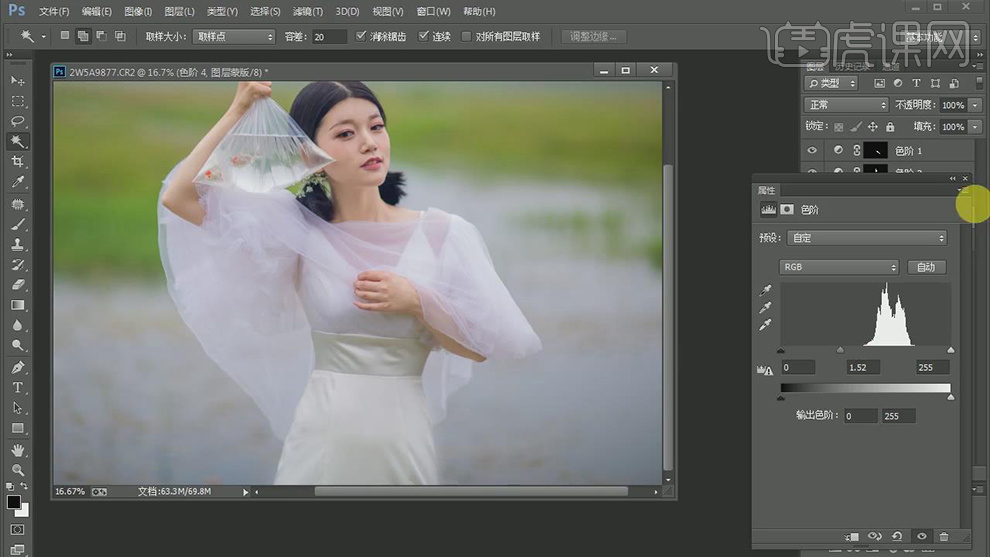
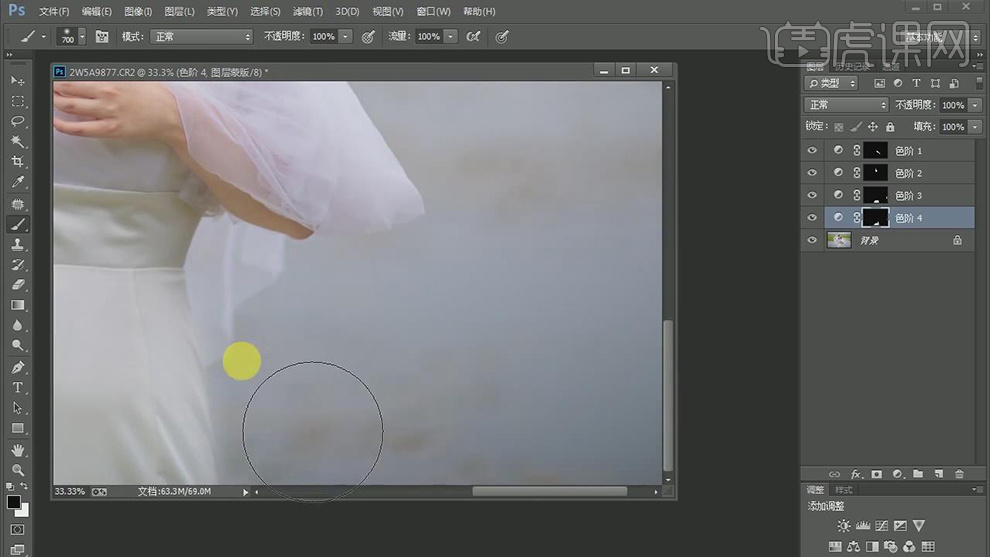
虎课网为您推荐PS-日系户外婚纱女单人像摄影后期视频教程、图文教程、素材源文件下载,学员课后练习、作品以及评价等内容。PS-日系户外婚纱女单人像摄影后期教程讲师:虎子,使用软件:PS(CC2017),难度等级:中级拔高,视频时长:28分03秒,涉及工具和快捷键:复制图层(Ctrl+J),盖印(Ctrl+Alt+Shift+E),原位后置粘贴(Ctrl+B),制作影片 Ctrl+M,PS-滤镜安装及camera raw使用,PS-camera raw滤镜(Ctrl+Shift+A) 查看全部
相关文章:
最新文章:


 复制
复制