

图文教程学员互动 (321) 视频字幕


换一批
为你推荐
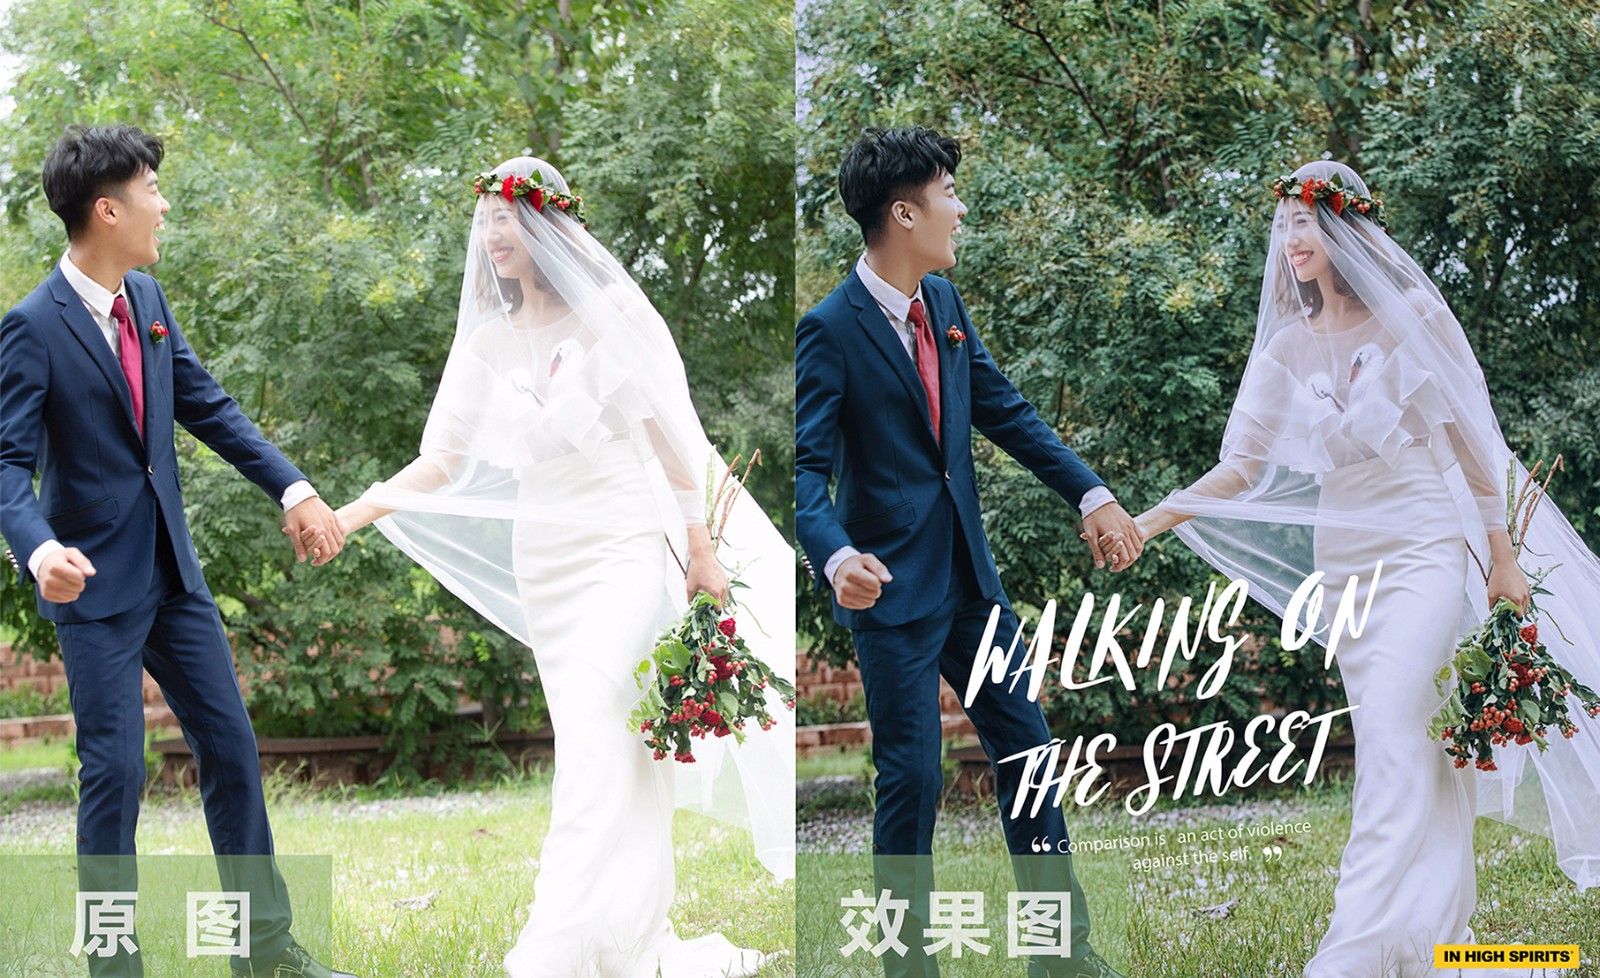
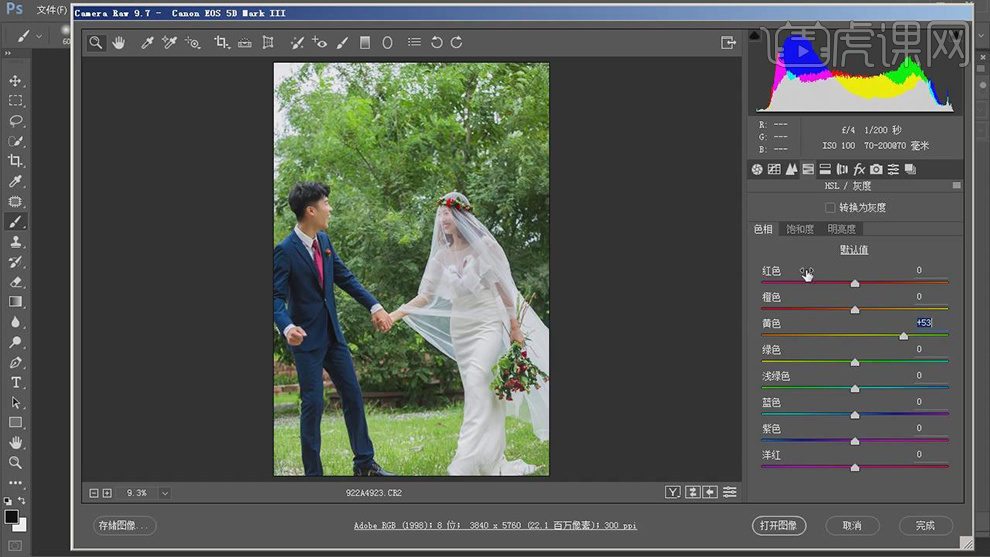
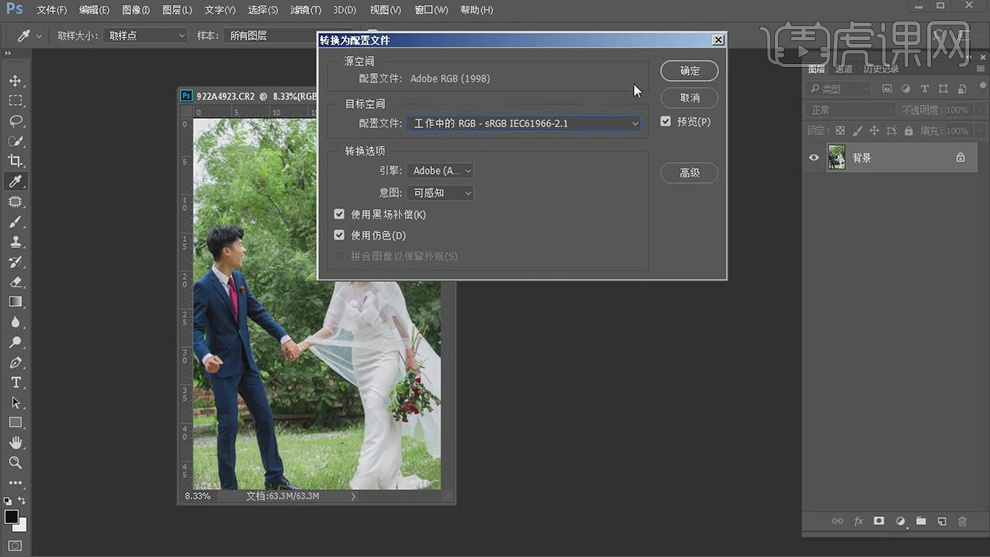
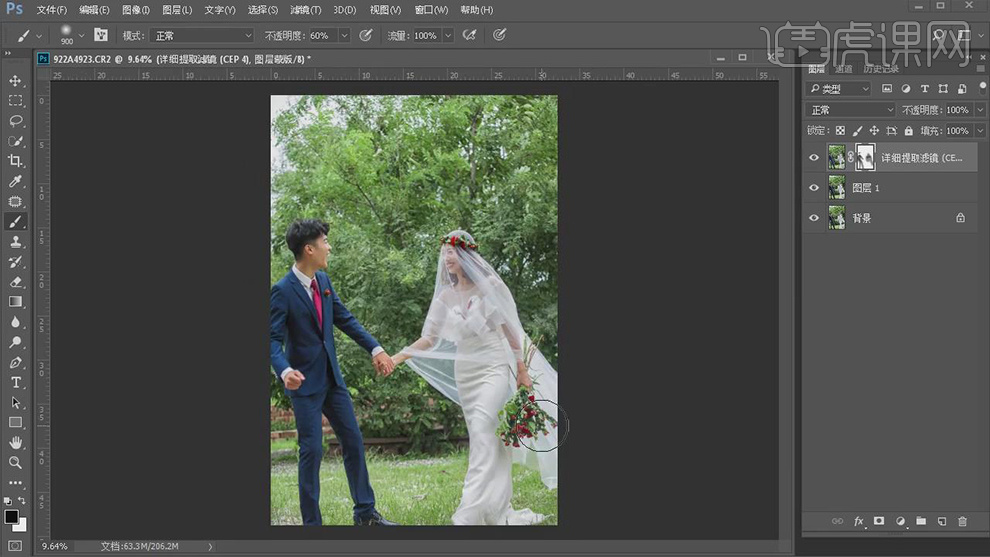
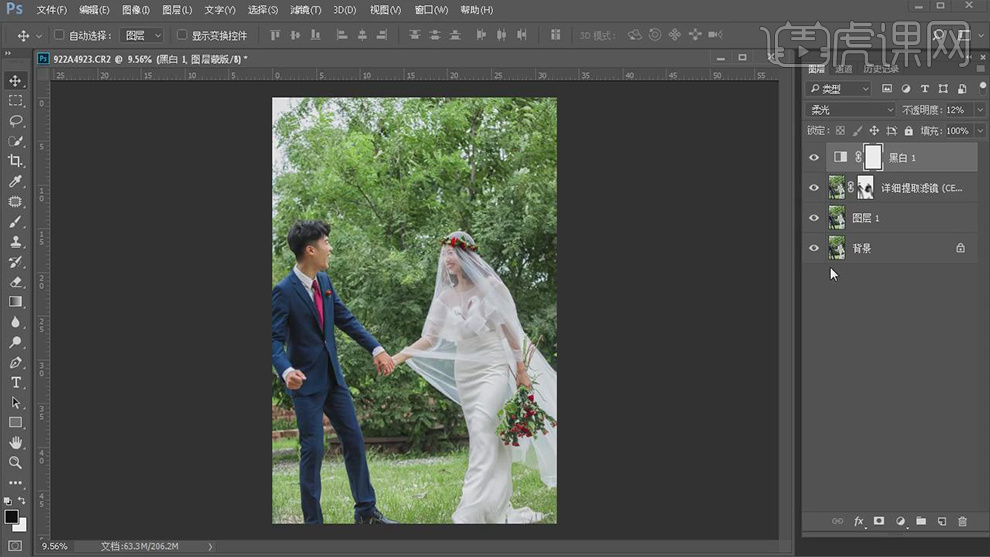
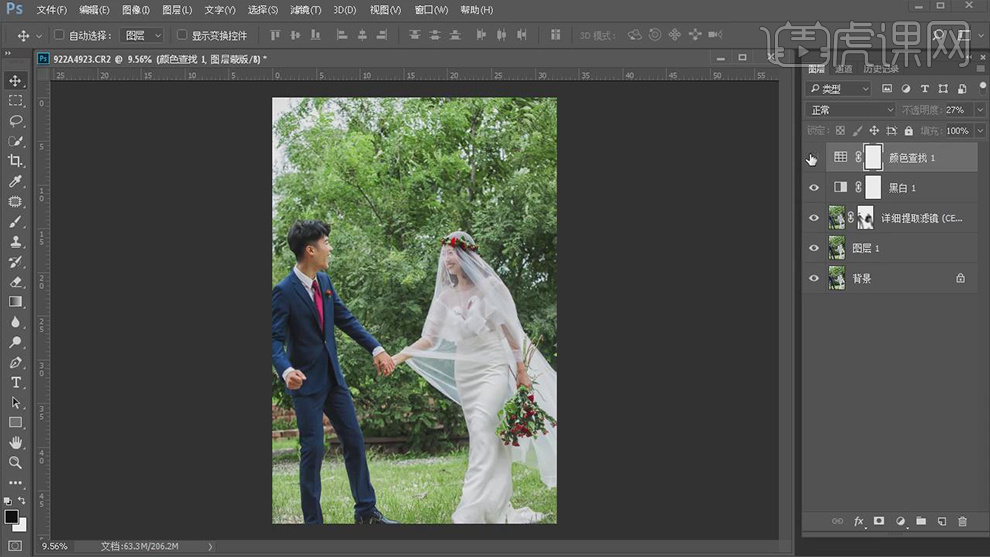
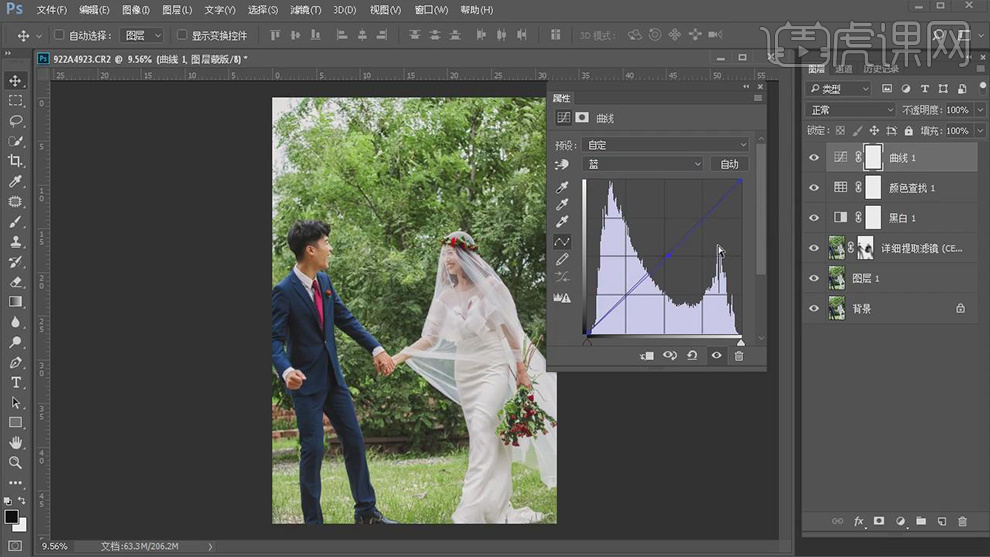
虎课网为您推荐PS-婚纱人像整套照片如何统一色调详解 视频教程、图文教程、素材源文件下载,学员课后练习、作品以及评价等内容。PS-婚纱人像整套照片如何统一色调详解 教程讲师:姜国强,使用软件:PS(CC2017),难度等级:中级拔高,视频时长:20分26秒,涉及工具和快捷键:PS-移动工具,放大画面(Ctrl++),缩小画面(Ctrl+-),盖印(Ctrl+Alt+Shift+E) 查看全部
相关文章:
最新文章:
您还没有专辑
开始创建自己的专辑吧
按住画面移动小窗
PS-婚纱人像整套照片如何统一色调详解
虎课APP支持视频下载缓存
扫码下载/打开虎课APP
支持视频下载,随时随地学


 复制
复制